Acknowledgement
The instructions followed in this setup guide were adapted from the official AWX Operator documentation, specifically the Basic Installation Guide provided by the Ansible AWX Operator GitHub repository.
Note
This setup guide assumes Minikube is installed and configured on our system. Minikube documentation.
Step 1: Start Minikube
Starting Minikube with sufficient resources.
minikube start --cpus=4 --memory=6g --addons=ingressMaking sure Minikube is up and running:
minikube statusOutput:
type: Control
Plane host:
Running kubelet:
Running apiserver:
Running kubeconfig: Configured
Step 2: Set Up AWX Operator Namespace
Creating a new namespace for AWX in the Kubernetes cluster called “awx” using the following command:
kubectl create namespace awxOutput:
namespace/awx created
Step 3: Create kustomization.yaml File
- Creating
kustomization.yamlfile in the directory where we’re working with the following content
nano kustomization.yamlapiVersion: kustomize.config.k8s.io/v1beta1
kind: Kustomization
resources:
# 2.5.3
- github.com/ansible/awx-operator/config/default?ref=2.5.3
# Set the image tags to match the git version from above
images:
- name: quay.io/ansible/awx-operator
newTag: 2.5.3
# Specify a custom namespace in which to install AWX
namespace: awxThe latest tag/version here. Using version 2.5.3
- Save and exit the file.
To install the AWX operator into the awx namespace we run kubectl apply -k .
kubectl apply -k .
Output
Warning: resource namespaces/awx is missing the kubectl.kubernetes.io/last-applied-configuration annotation which is required by kubectl apply. kubectl apply should only be used on resources created declaratively by either kubectl create --save-config or kubectl apply. The missing annotation will be patched automatically.
namespace/awx configured
customresourcedefinition.apiextensions.k8s.io/awxbackups.awx.ansible.com created
customresourcedefinition.apiextensions.k8s.io/awxrestores.awx.ansible.com created
customresourcedefinition.apiextensions.k8s.io/awxs.awx.ansible.com created
serviceaccount/awx-operator-controller-manager created
role.rbac.authorization.k8s.io/awx-operator-awx-manager-role created
role.rbac.authorization.k8s.io/awx-operator-leader-election-role created
clusterrole.rbac.authorization.k8s.io/awx-operator-metrics-reader created
clusterrole.rbac.authorization.k8s.io/awx-operator-proxy-role created
rolebinding.rbac.authorization.k8s.io/awx-operator-awx-manager-rolebinding created
rolebinding.rbac.authorization.k8s.io/awx-operator-leader-election-rolebinding created
clusterrolebinding.rbac.authorization.k8s.io/awx-operator-proxy-rolebinding created
configmap/awx-operator-awx-manager-config created
service/awx-operator-controller-manager-metrics-service created
deployment.apps/awx-operator-controller-manager created
hector@hector-HP-Compaq-Elite-8300-CMT:~$
AWX Operator has been successfully deployed to the awx namespace in the Kubernetes cluster.
Step 4: Creating an AWX instance.
- Creating a new YAML file called
awx-demo.yamlin the same directory.
nano awx-demo.yaml- Added the following content to
awx-demo.yaml:
---
apiVersion: awx.ansible.com/v1beta1
kind: AWX
metadata:
name: awx-demo
spec:
service_type: nodeport-
Save and exit the file.
-
Now we modify
kustomization.yamlto include this newawx-demo.yamlas a resource.
nano kustomization.yaml- Added the
- awx-demo.yamlline underresources, like so:
apiVersion: kustomize.config.k8s.io/v1beta1
kind: Kustomization
resources:
  - github.com/ansible/awx-operator/config/default?ref=2.5.3
  - awx-demo.yaml# Add this line

# rest of settings...-
Save and exit the file.
-
Applying the changes to create the AWX instance:
kubectl apply -k .Output
hector@hector-HP-Compaq-Elite-8300-CMT:~$ kubectl apply -k .
Warning: resource namespaces/awx is missing the kubectl.kubernetes.io/last-applied-configuration annotation which is required by kubectl apply. kubectl apply should only be used on resources created declaratively by either kubectl create --save-config or kubectl apply. The missing annotation will be patched automatically.
namespace/awx configured
customresourcedefinition.apiextensions.k8s.io/awxbackups.awx.ansible.com created
customresourcedefinition.apiextensions.k8s.io/awxrestores.awx.ansible.com created
customresourcedefinition.apiextensions.k8s.io/awxs.awx.ansible.com created
serviceaccount/awx-operator-controller-manager created
role.rbac.authorization.k8s.io/awx-operator-awx-manager-role created
role.rbac.authorization.k8s.io/awx-operator-leader-election-role created
clusterrole.rbac.authorization.k8s.io/awx-operator-metrics-reader created
clusterrole.rbac.authorization.k8s.io/awx-operator-proxy-role created
rolebinding.rbac.authorization.k8s.io/awx-operator-awx-manager-rolebinding created
rolebinding.rbac.authorization.k8s.io/awx-operator-leader-election-rolebinding created
clusterrolebinding.rbac.authorization.k8s.io/awx-operator-proxy-rolebinding created
configmap/awx-operator-awx-manager-config created
service/awx-operator-controller-manager-metrics-service created
deployment.apps/awx-operator-controller-manager created
This should deploy an AWX instance named awx-demo in the awx namespace.
Step 5: Checking Pod Status
Checking to see if the AWX Operator pods are running as expected:
kubectl get pods -n awxCommand 'kubectl' not found
hector@hector-HP-Compaq-Elite-8300-CMT:~$ kubectl get pods -n awx
Command 'kubectl' not found, but can be installed with:

sudo snap install kubectl
Not sure what happened with kubectl especially since we used it successfully in earlier steps.
Solution
sudo snap install kubectl --classic
Verifying kubectlinstallation
hector@hector-HP-Compaq-Elite-8300-CMT:~$ kubectl version --client
Client Version: v1.28.2
Kustomize Version: v5.0.4-0.20230601165947-6ce0bf390ce3
hector@hector-HP-Compaq-Elite-8300-CMT:~$
Checking if the AWX Operator has been successfully deployed.
kubectl get pods -n awxWe should see the operator pod(s) listed, along with their current status.
hector@hector-HP-Compaq-Elite-8300-CMT:~$ kubectl get pods -n awx
NAME                                               READY   STATUS    RESTARTS   AGE
awx-operator-controller-manager-566b76fc7f-mbkw2   2/2     Running   0          94m
The AWX Operator is running
Now we create the AWX Custom Resource by creating a new YAML file awx-demo.yaml with the following content:
apiVersion: awx.ansible.com/v1beta1
kind: AWX
metadata:
  name: awx-demo
spec:
  service_type: nodeport
We create this file in the same directory as your kustomization.yaml.
After we update kustomization.yaml file to include the new resource:
resources:
  - github.com/ansible/awx-operator/config/default?ref=2.5.3
  - awx-demo.yaml
awx-demo.yaml
apiVersion: awx.ansible.com/v1beta1
kind: AWX
metadata:
  name: awx-demo
spec:
  service_type: nodeport
kustomization.yaml
apiVersion: kustomize.config.k8s.io/v1beta1
kind: Kustomization
resources:
  - github.com/ansible/awx-operator/config/default?ref=2.5.3
  - awx-demo.yaml
images:
  - name: quay.io/ansible/awx-operator
    newTag: 2.5.3
Applying the changes (This should deploy the AWX instance)
kubectl apply -k .
Output
hector@hector-HP-Compaq-Elite-8300-CMT:~$ kubectl apply -k .
namespace/awx unchanged
customresourcedefinition.apiextensions.k8s.io/awxbackups.awx.ansible.com unchanged
customresourcedefinition.apiextensions.k8s.io/awxrestores.awx.ansible.com unchanged
customresourcedefinition.apiextensions.k8s.io/awxs.awx.ansible.com unchanged
serviceaccount/awx-operator-controller-manager unchanged
role.rbac.authorization.k8s.io/awx-operator-awx-manager-role configured
role.rbac.authorization.k8s.io/awx-operator-leader-election-role unchanged
clusterrole.rbac.authorization.k8s.io/awx-operator-metrics-reader unchanged
clusterrole.rbac.authorization.k8s.io/awx-operator-proxy-role unchanged
rolebinding.rbac.authorization.k8s.io/awx-operator-awx-manager-rolebinding unchanged
rolebinding.rbac.authorization.k8s.io/awx-operator-leader-election-rolebinding unchanged
clusterrolebinding.rbac.authorization.k8s.io/awx-operator-proxy-rolebinding unchanged
configmap/awx-operator-awx-manager-config unchanged
service/awx-operator-controller-manager-metrics-service unchanged
deployment.apps/awx-operator-controller-manager configured
awx.awx.ansible.com/awx-demo created
hector@hector-HP-Compaq-Elite-8300-CMT:~$
The output shows awx.awx.ansible.com/awx-demo created, which indicates that the AWX custom resource has been applied.
We can now monitor the status of the AWX pods by running:
kubectl get pods -n awxWaited until all pods are in a Running or Completed state.
Output:
hector@hector-HP-Compaq-Elite-8300-CMT:~$ kubectl get pods -n awx
NAME                                               READY   STATUS    RESTARTS   AGE
awx-demo-postgres-13-0                             1/1     Running   0          8m58s
awx-demo-task-6dfdb95d67-khdg9                     4/4     Running   0          7m33s
awx-demo-web-668448b5f7-g6rcp                      3/3     Running   0          5m31s
awx-operator-controller-manager-566b76fc7f-mbkw2   2/2     Running   0          108m
All the AWX pods are running
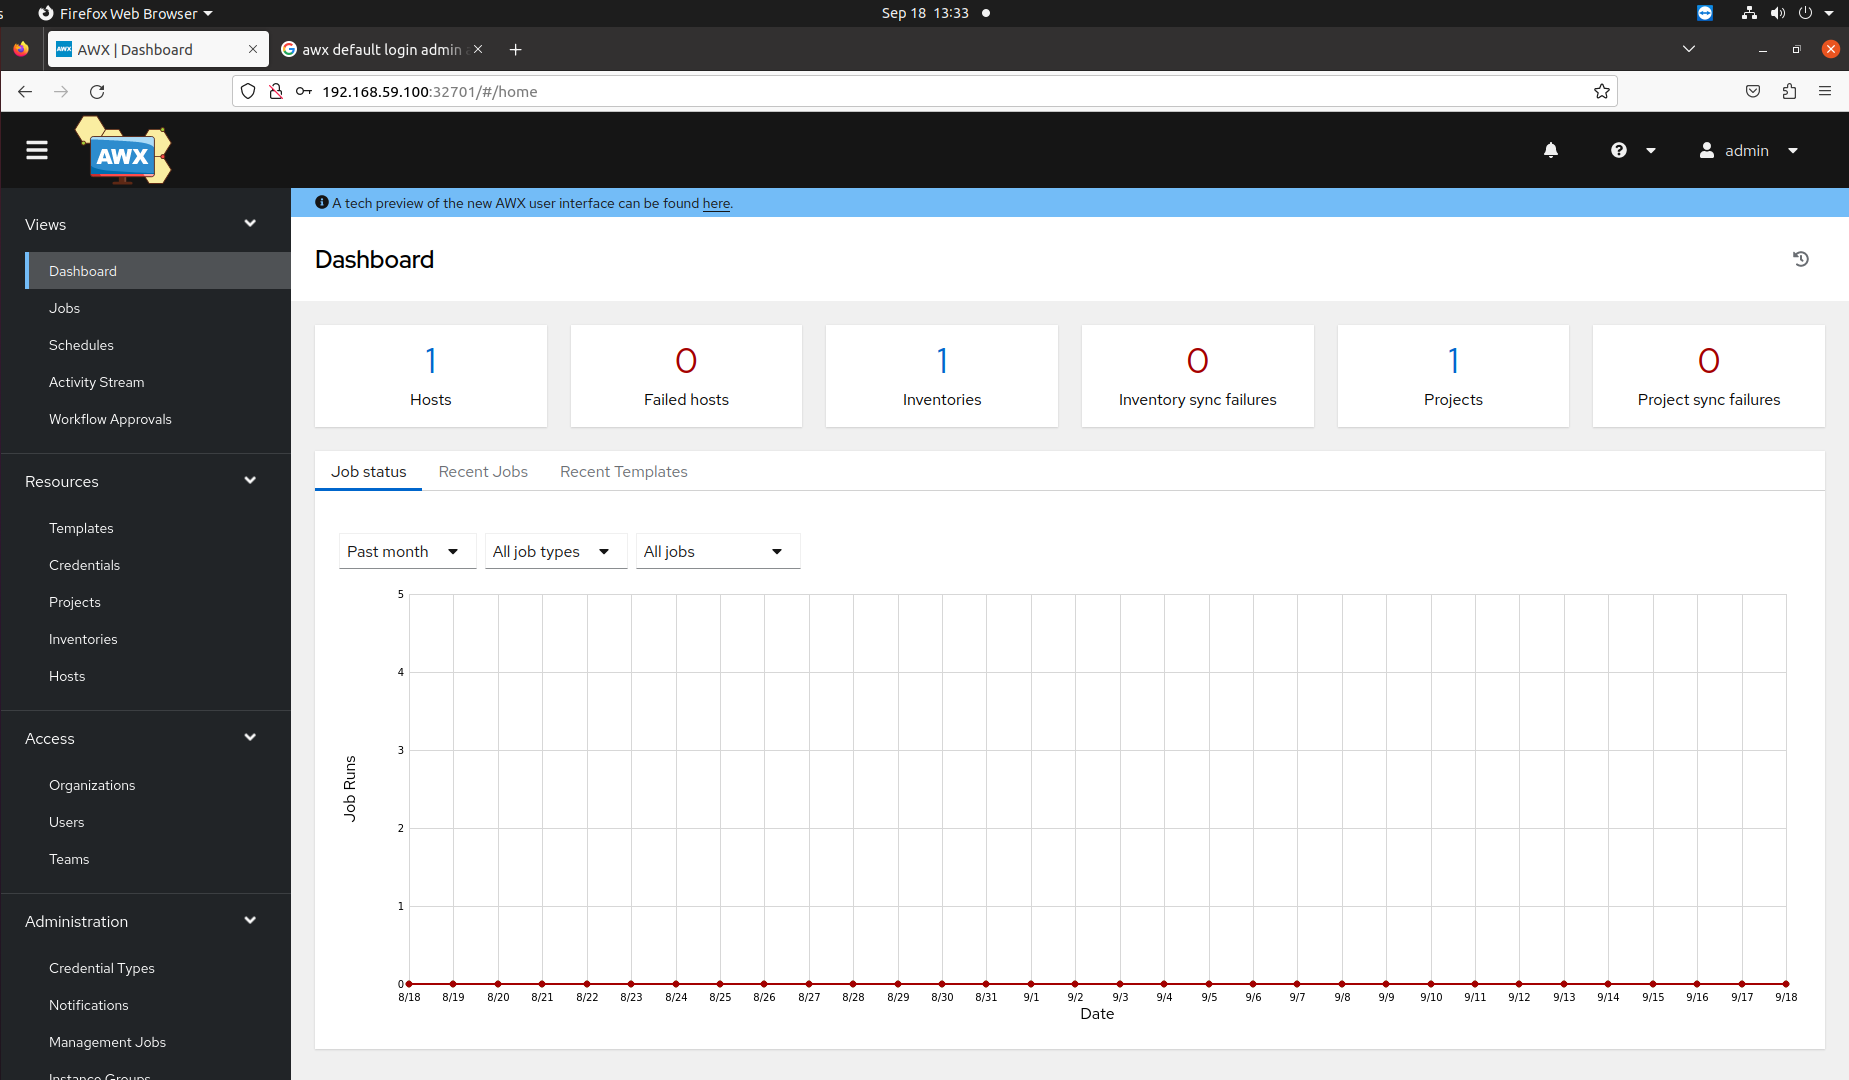
Step 6: Accessing AWX Web Interface
Once all the pods are running, we should be able to access the AWX web interface. Since we specified service_type: nodeport in awx-demo.yaml, we can find out the NodePort on which AWX is exposed by running:
kubectl get svc -n awxThis will display the services in the AWX namespace and should show which port is mapped to the AWX service.
hector@hector-HP-Compaq-Elite-8300-CMT:~$ kubectl get svc -n awx
NAME                                              TYPE        CLUSTER-IP      EXTERNAL-IP   PORT(S)        AGE
awx-demo-postgres-13                              ClusterIP   None            <none>        5432/TCP       9m6s
awx-demo-service                                  NodePort    10.107.150.99   <none>        80:32701/TCP   7m43s
awx-operator-controller-manager-metrics-service   ClusterIP   10.111.92.229   <none>        8443/TCP       108m
hector@hector-HP-Compaq-Elite-8300-CMT:~$
The NodePort for the AWX service is 32701.
To access the AWX web interface, we’ll need to browse to the Minikube node’s IP address on that port. We can get the Minikube node’s IP address with the following command:
minikube ipOutput:
hector@hector-HP-Compaq-Elite-8300-CMT:~$ minikube ip 192.168.59.100We should now be able to access the AWX web interface by opening a web browser and navigating to http://192.168.59.100:32701/.
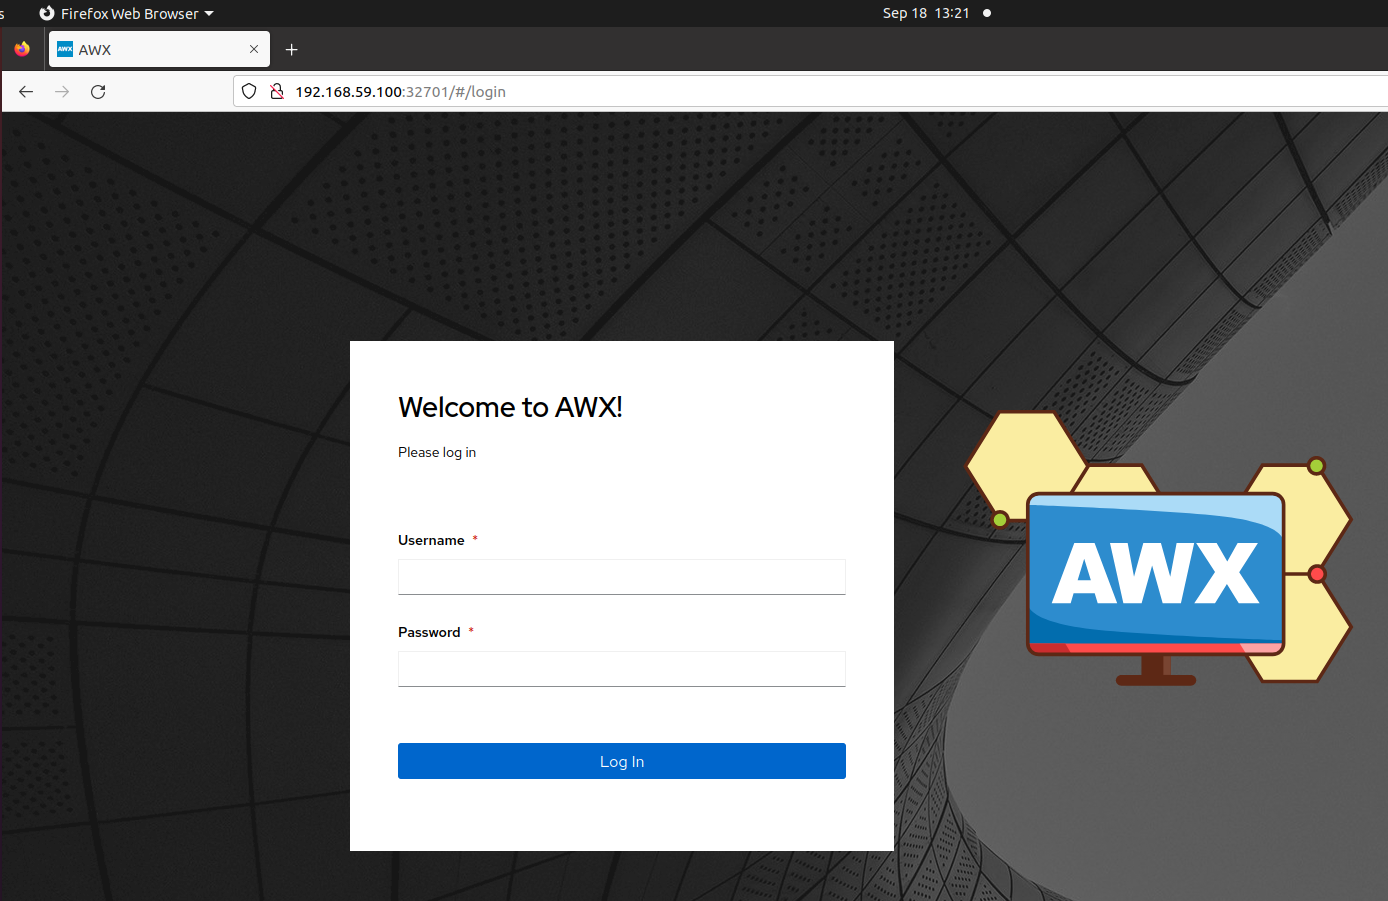
Step 7: Retrieving AWX Admin Credentials
Sometimes the AWX deployment might use randomly generated credentials. These should be stored in a Kubernetes secret.
To find these credentials, you can run:
kubectl get secret -n awxOutput:
hector@hector-HP-Compaq-Elite-8300-CMT:~$ kubectl get secrets -n awx
NAME                              TYPE                DATA   AGE
awx-demo-admin-password           Opaque              1      19m
awx-demo-app-credentials          Opaque              3      17m
awx-demo-broadcast-websocket      Opaque              1      19m
awx-demo-postgres-configuration   Opaque              6      19m
awx-demo-receptor-ca              kubernetes.io/tls   2      17m
awx-demo-receptor-work-signing    Opaque              2      17m
awx-demo-secret-key               Opaque              1      19m
redhat-operators-pull-secret      Opaque              1      19m
We look for a secret related to the AWX admin credentials, which might be named something like awx-demo-admin-password or similar
Then, to extract and decode the admin password, we can describe the secret:
kubectl get secret awx-demo-admin-password -n awx -o jsonpath="{.data.password}" | base64 --decodeOutput:
hector@hector-HP-Compaq-Elite-8300-CMT:~$ kubectl get secret awx-demo-admin-password -n awx -o jsonpath="{.data.password}" | base64 --decode
R7MDNVbg6sTWtypXgAJA4EFOoMDOo8Uh
hector@hector-HP-Compaq-Elite-8300-CMT:~$
Now we know the credentials
- Username:
admin - Password:
R7MDNVbg6sTWtypXgAJA4EFOoMDOo8Uh