Module 7: DynamoDB Assignment
Problem Statement: You work for XYZ Corporation. Their application requires a database service that can store data which can be retrieved if required. Implement a suitable service for the same.
While migrating, you are asked to perform the following tasks:
- Create a DynamoDB table with partition key as ID.
- Add 5 items to the DynamoDB table.
- Take backup and delete the table.
Certainly! Here’s a step-by-step guide from your point of view to set up, populate, backup, and delete a DynamoDB table:
1. Setting up a DynamoDB Table:
Step 1: I logged into the AWS Management Console and navigated to the DynamoDB service.
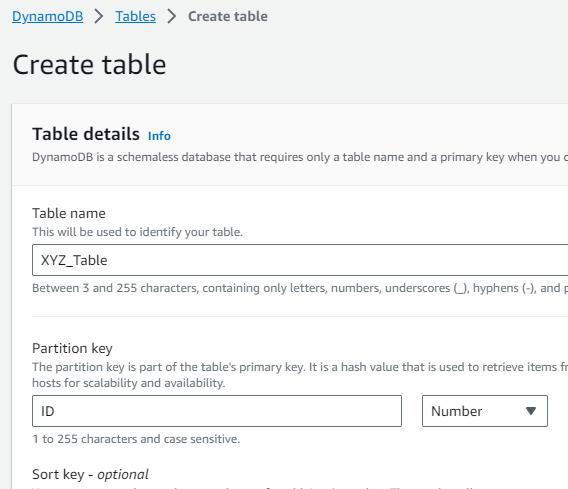
Step 2: On the DynamoDB dashboard, I clicked the “Create table” button.
Step 3: For the table name, I entered a suitable name, say “XYZ_Table”. I set the partition key as “ID”. Once done, I clicked the “Create” button.
2. Populating the DynamoDB Table:
Step 1: After the table was created, I clicked it from the dashboard.
Step 2: I clicked the “Actions” dropdwon and then the “Create item” button.
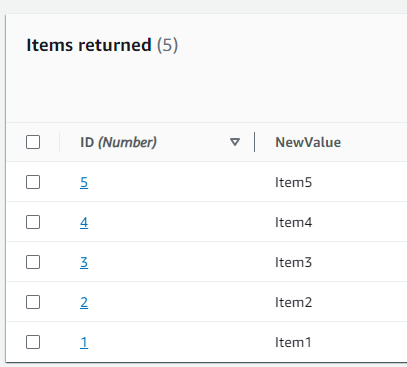
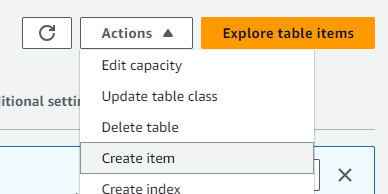 Step 3: I then entered the required details for the item, ensuring the “ID” was filled in. I repeated this process for all 5 items, making sure each one had a unique ID.
3. Taking a Backup of the Table:
Step 1: Back on the dashboard, I clicked my table XYZ_Table.
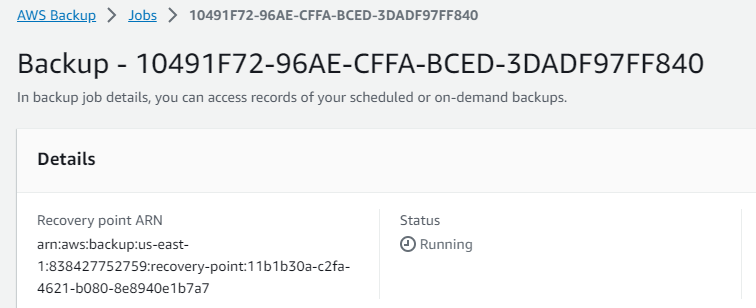
Step 2: In the “Backups” tab, I clicked the “Create backup” button.
Step 3: I named the backup appropriately and clicked the “Create backup” button.

4. Deleting the DynamoDB Table:
Step 1: After ensuring that the backup was successful, I selected the table from the dashboard and clicked button “Delete”
Step 2: A prompt appeared, asking for confirmation. I double-checked to make sure the backup was intact, then confirmed the deletion.
Restoring the DynamoDB Table from a Backup:
Step 1: From the AWS Management Console, I navigated to the DynamoDB service.
Step 2: On the left side, I clicked on the “Backups” option.
Step 3: In the list of backups, I located the backup of the “XYZ_Table”.
Step 4: I selected the desired backup by clicking the checkbox next to it.
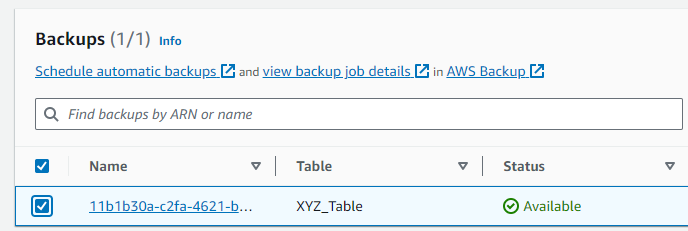
Step 5: With the backup selected, I clicked on the “Restore” button or option.
Step 6: A dialog popped up prompting for details on the restore process. I specified a new table name XYZ_Table-restored (since you can’t restore over an existing table with the same name).
Step 7: I reviewed any additional settings or configurations that were required or that I wanted to adjust.
Step 8: After confirming all details, I clicked on the “Restore” or “Confirm” button to initiate the restoration process.
Step 9: I returned to the “Tables” section to monitor the status of the restore. The table status should eventually change from “Restoring” to “Active” once the restoration process is complete.
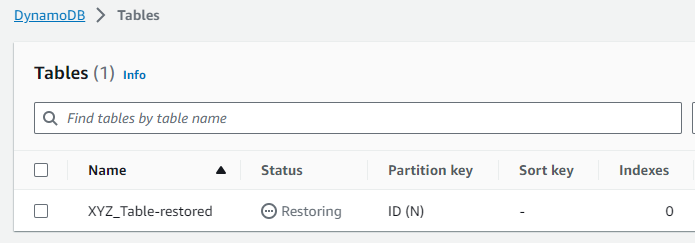
Once the status is ”Active,” the table has been restored, and we can begin querying and working with your data again.