Module 7: Case Study - 1
Problem Statement: You work for XYZ Corporation. Your company has multiple branch offices all over the country. They want to deploy their application on AWS that reads data from the users’ devices and sends reports to all the branches. The application also requires executing complex relational joins and updates. They want high availability for their application.
Tasks To Be Performed:
- Build a highly scalable database and make sure that it’s always available and accessible. Manage automated backup for this database with retention period of 2 days.
- Build a database architecture which lets your application read data from different regions.
- Establish a database architecture to process the data collected for near real-time analysis.
As the user base of the application increases, your corporation observed a significant latency in the transfer of data to the branches. Your company realized that most of the time, the same kind of data is being fetched and sent to the branches.
You are asked to:
- Find and implement the solution in order to resolve the latency issues.
Step 1: Created Aurora DB
- Access AWS Management Console:
- I logged into my AWS account.
- Once in, I headed over to the AWS RDS (Relational Database Service) section.
- Create Aurora Database:
- To create an Aurora database, I clicked the “Create database” button.
- I chose the “Standard create” option for more control.
- Engine Choice:
- I selected “Aurora with MySQL compatibility” as the database engine.
- Choose Template:
- I opted for the “Production” template for a robust setup.
- Configuration Settings:
- For the DB cluster identifier, I provided the name “database-1.”
- I specified the Master username and password for database access.
- Ensure Availability and Durability:
- To ensure high availability, I chose “Create an Aurora Replica in a different Availability Zone” for “Multi-AZ deployment.”
- Set Up Connectivity:
- I selected the appropriate Virtual Private Cloud (VPC) for the database.
- I chose a suitable Subnet group, or created a new one if necessary.
- To enhance security, I set “Publicly accessible” to “No” to prevent external internet access.
- VPC Security Groups:
- To allow incoming traffic within the VPC, I opened port 3306 (MySQL’s default port) and specified the VPC CIDR range in the security group rules, restricting access to resources within the VPC.
-
Additional configuration:
-
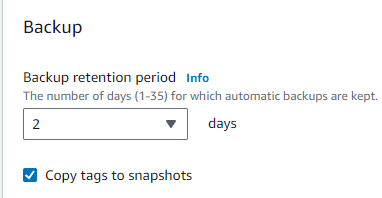
For a robust backup strategy, I set the “Backup retention period” to 2 days, which retains automated backups for two days.
-

- Validating RDS Connectivity via EC2 Instance:
- I created an Ubuntu EC2 instance in the same VPC and enabled SSH access. After setting up the instance, I installed SQL on Ubuntu using the commands
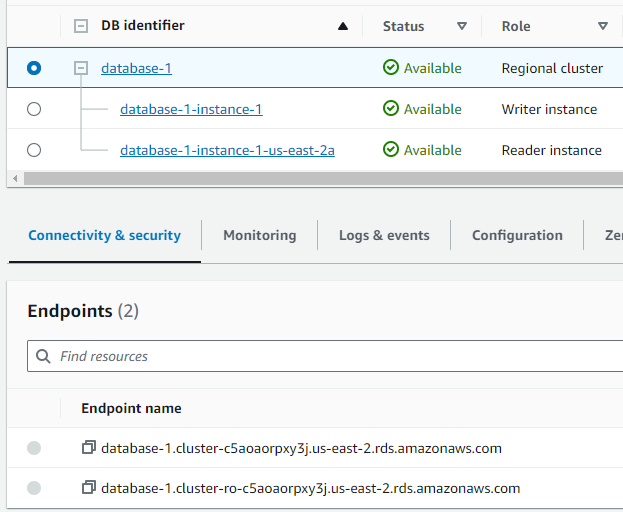
sudo apt-get update -yandsudo apt-get install mysql-server -y. To connect to the database, I used the RDS endpoint writer from this EC2 instance. It’s important to note that writers have full database access and can modify content, while readers can only view data. ^787ee9
Was able to connect to writer
ubuntu@ip-172-31-2-77:~$ sudo mysql -h database-1.cluster-c5aoaorpxy3j.us-east-2.rds.amazonaws.com -u admin -p
Enter password:
Welcome to the MySQL monitor.  Commands end with ; or \g.
Your MySQL connection id is 276
Server version: 8.0.28 Source distribution

Copyright (c) 2000, 2023, Oracle and/or its affiliates.

Oracle is a registered trademark of Oracle Corporation and/or its
affiliates. Other names may be trademarks of their respective
owners.

Type 'help;' or '\h' for help. Type '\c' to clear the current input statement.

mysql>
Step 2: Setting Up Cross-Region Data Access
- Go to my RDS Dashboard:
- I’ll open up my AWS RDS dashboard.
- Choose My Aurora Cluster:
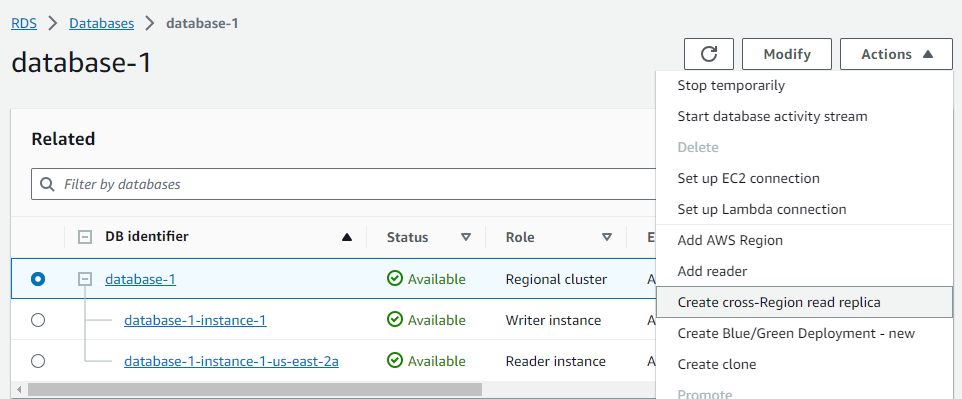
- I’ll locate and select the Aurora cluster named “database-1”, identified as a “Regional cluster”.
- Access the ‘Actions’ Menu:
- With “database-1” selected, I’ll click on the “Actions” dropdown menu at the top.
- Initiate Creation of Cross-Region Read Replica:
- I’ll select the option “Create cross-Region read replica”. !
- I’ll select the option “Create cross-Region read replica”. !
- Configure the Read Replica:
-
I’ll provide the “DB instance identifier” as
myinstancerds. -
I’ll select the destination region, choosing
US West (Oregon)as it’s closer to the other branch offices I intend to serve.
-
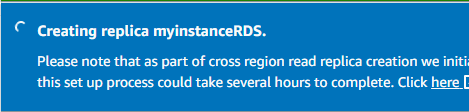
- Complete the Replica Setup:
- I’ll proceed through any remaining AWS prompts to complete the setup of this cross-region read replica.
I stumbled upon error:
Your request to create DB cluster RDSreplica and instance RDSreplica has failed.
Source cluster arn:aws:rds:us-east-2:838427752759:cluster:database-1 doesn’t have binlogs enabled.
Fix: Modifying the DB cluster parameter
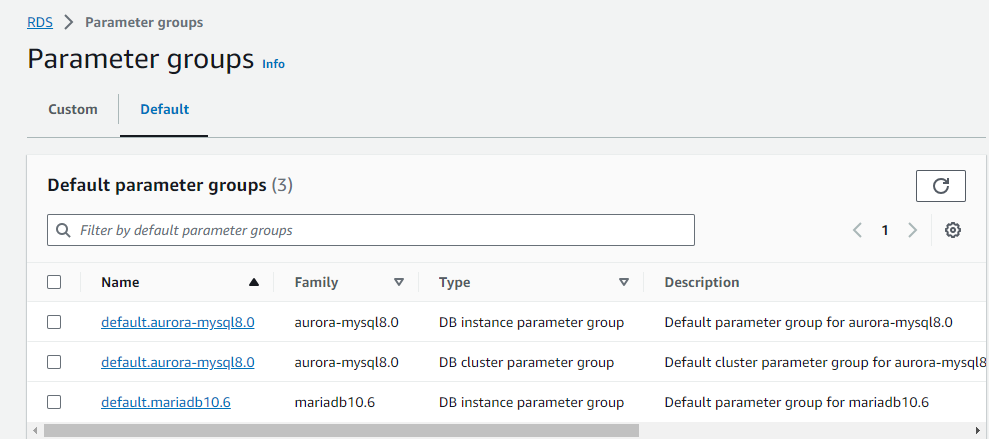
- Identifying the Current DB Cluster Parameter:
- The database is currently using the
default.aurora-mysql8.0DB cluster parameter group.- Creating New Parameter Groups:
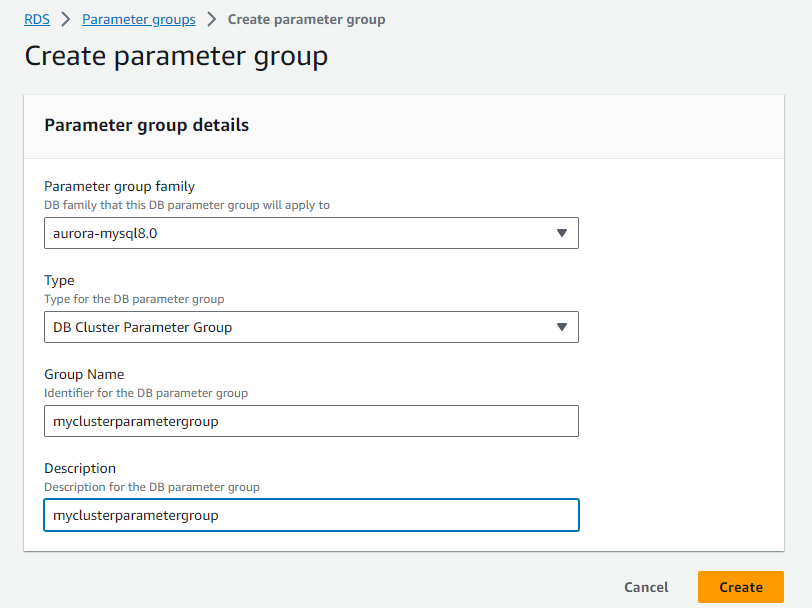
- Default parameter groups cannot be modified, so I need to create custom ones.
- I’ve created two new parameter groups:
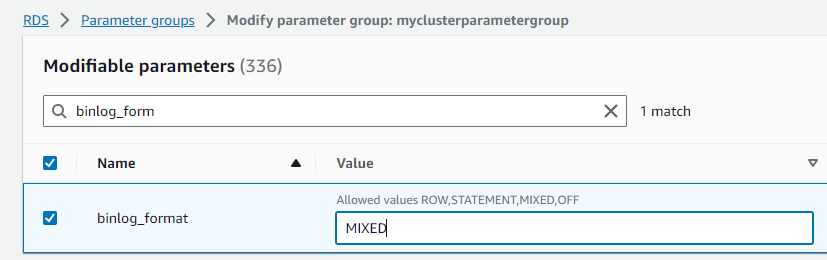
myclusterparametergroupfor the cluster parameter group.- Modifying Cluster Parameter Group:
- I selected
myclusterparametergroupand clicked “edit”.- Located
binlog_formatand set its value toMIXED.- Applying the New Cluster Parameter Group to the Database:
- For the
database-1cluster, I changed its parameter group to the newly createdmyclusterparametergroup.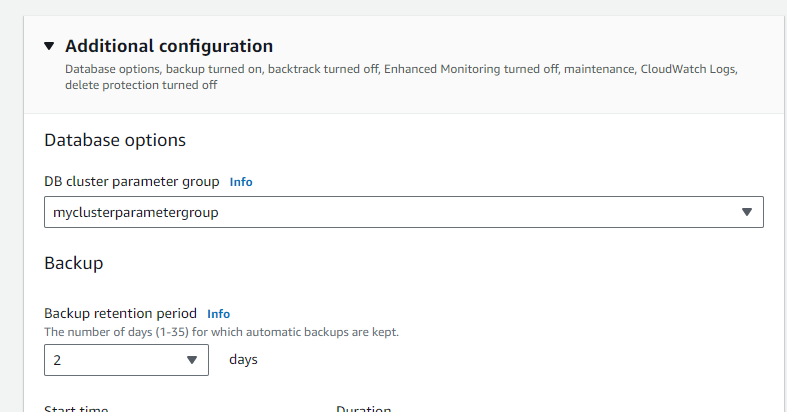
- The modifications are applied after the database is rebooted.

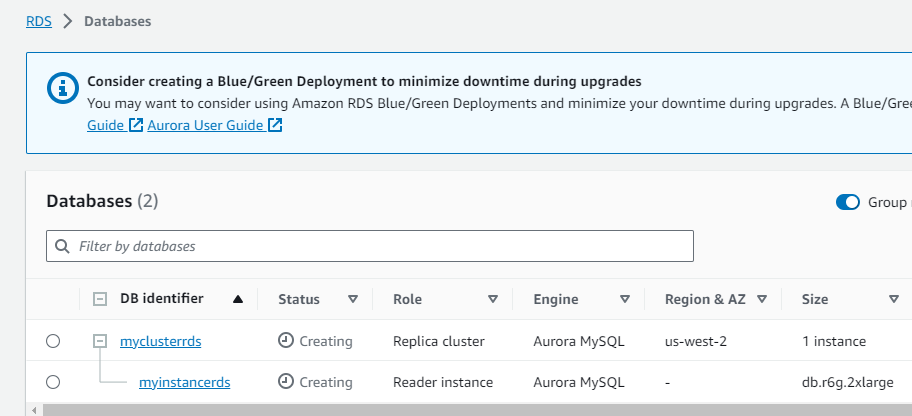
Replication now functioning.
In the Oregon region, which we selected, we observe the replica:
Step 3: Setting Up Amazon Redshift for Data Analysis:
Initiate the Redshift Setup:
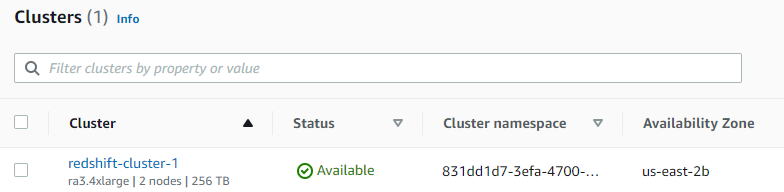
- I navigate to the Amazon Redshift service on my AWS console.
- I click on “Create cluster”.
- I configure it according to my data size and query needs.
- I name my cluster
redshift-cluster-1and adjust other parameters as necessary. - I ensure “Sample data” is checked during the setup.
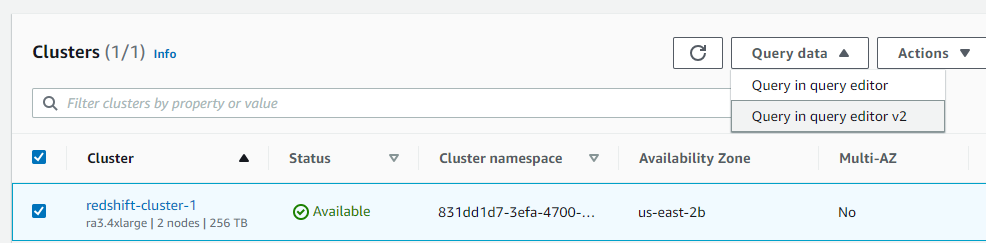
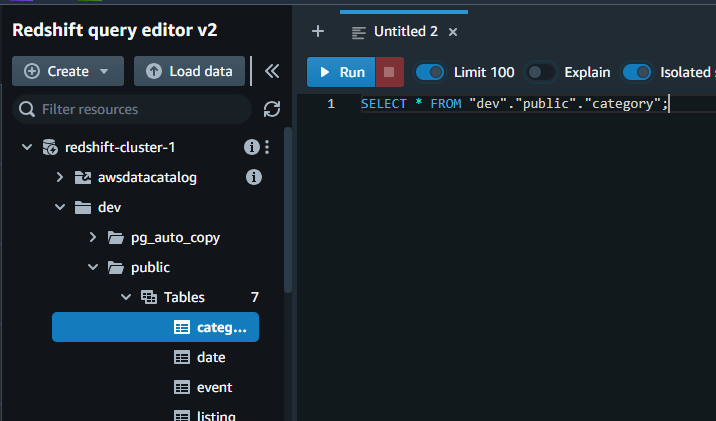
I open the Redshift query editor v2.
- I navigate to the
categorytable, found underdev>public. - I execute my sample query:
SELECT * FROM "dev"."public"."category".
Evaluating Query Performance: I monitor the query’s performance, noting the elapsed time for each run.
Success
I observe the reduction in query execution time over multiple runs, which indicates effective caching by Redshift.


