Module 8: SQS and SES Assignment
Problem Statement: You work for XYZ Corporation. Your team is asked to deploy similar architecture multiple times for testing, development, and production purposes. Implement CloudFormation for the tasks assigned to you below.
Tasks To Be Performed:
Deploying and Testing the FIFO SQS Queue:
- Create a FIFO SQS Queue with CloudFormation:
- I’ve created a CloudFormation template named
sqs_fifo.yamlwith the necessary configuration for a FIFO SQS queue. - In the AWS Management Console, I’ll open the CloudFormation service.
- I’ll click on Create stack.
- I’ll choose Upload a template file and then upload my
sqs_fifo.yamlfile. - After providing a name for the stack, like “FIFOSQSStack”, I’ll follow through the prompts, leaving all default settings, and initiate the stack creation.
- Test the FIFO SQS Queue:
- Once my CloudFormation stack shows a status of
CREATE_COMPLETE, I’ll go to the SQS service in the AWS Console.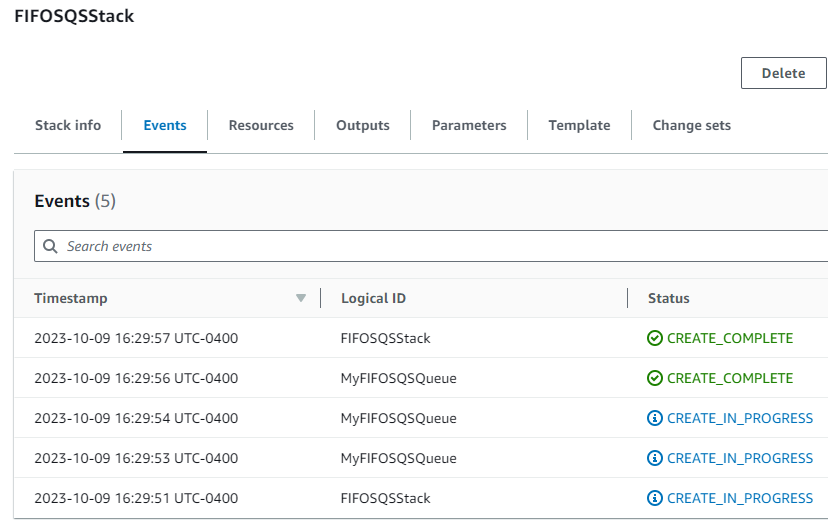
- I’ll find the
my-test-fifo-queue.fifoin the list of queues.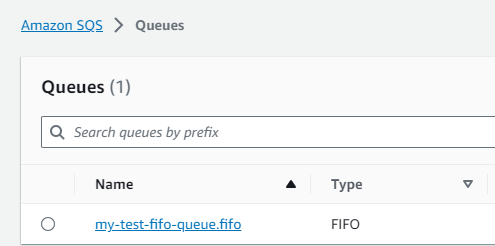
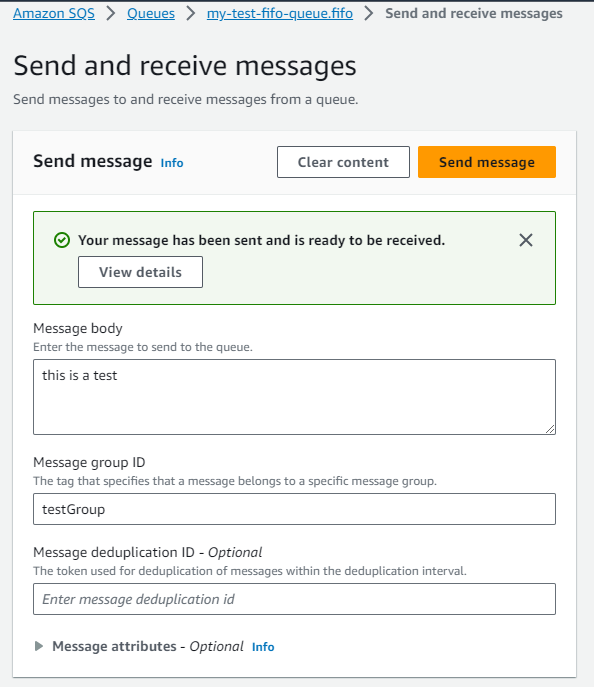
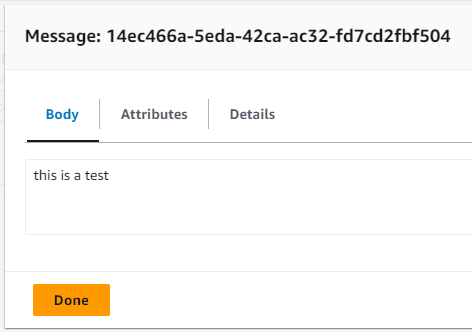
- To send a test message, I’ll select the queue, click on Send and receive messages, input a test message, and click Send message.
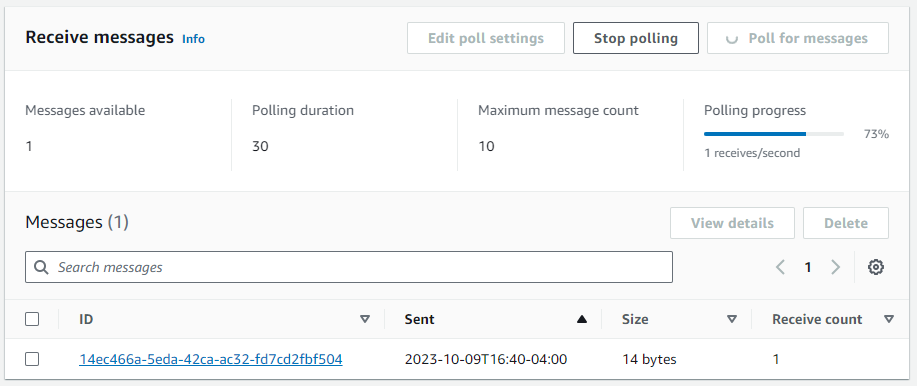
- I can then click on Poll for messages to see if my message appears, confirming the queue is working correctly.
AWSTemplateFormatVersion: '2010-09-09'
Resources:
MyFIFOSQSQueue:
Type: "AWS::SQS::Queue"
Properties:
QueueName: "my-test-fifo-queue.fifo"
FifoQueue: true
ContentBasedDeduplication: true
Setting Up and Testing SES:
- Verify My Email Address with SES:
- In the AWS Management Console, I’ll navigate to the SES service.
- Clicked Create identity, I’ll choose Email Addresses.
- I’ll click on Create identity button
- Received a verification email in my inbox, I’ll click the verification link to confirm.

- Send a Test Email:
In the SES console, displaying my verified email identity (nakamo5309@mugadget.com):
- I’ll click on the Send test email button, found at the top right corner.
- In the Send test email window that appears:
- For the From and To sections, I’ll use my verified email,
nakamo5309@mugadget.com. - I’ll fill in the Subject with “Test Email from SES”.
- For the Message body, I’ll write “This is a test email sent from Amazon SES.”
- After inputting the details, I’ll click on Send test email.
- I’ll then check my email inbox for
nakamo5309@mugadget.comto confirm that I’ve received the test email from SES.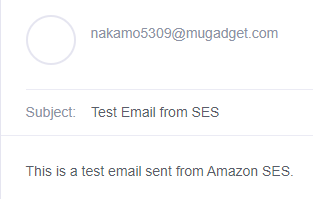
I’ve now successfully deployed a FIFO SQS queue and set up SES to send a test email to my verified address.