Module 4: Assignment - 2
Tasks To Be Performed:
- Create a Windows VM in west US region
- Open the RDP port
- Connect to it using Windows Remote Desktop
Step 1: Create a Windows VM in the West US Region
-
I Log into the Azure Portal:
- I open a web browser and navigate to the Azure Portal. I sign in with my credentials.
-
I Navigate to Virtual Machines:
- In the Azure Portal, I select “Virtual machines” from the menu or search for it in the search bar.
-
I Create the VM:
- I click on “Create” to start the process of creating a new virtual machine.
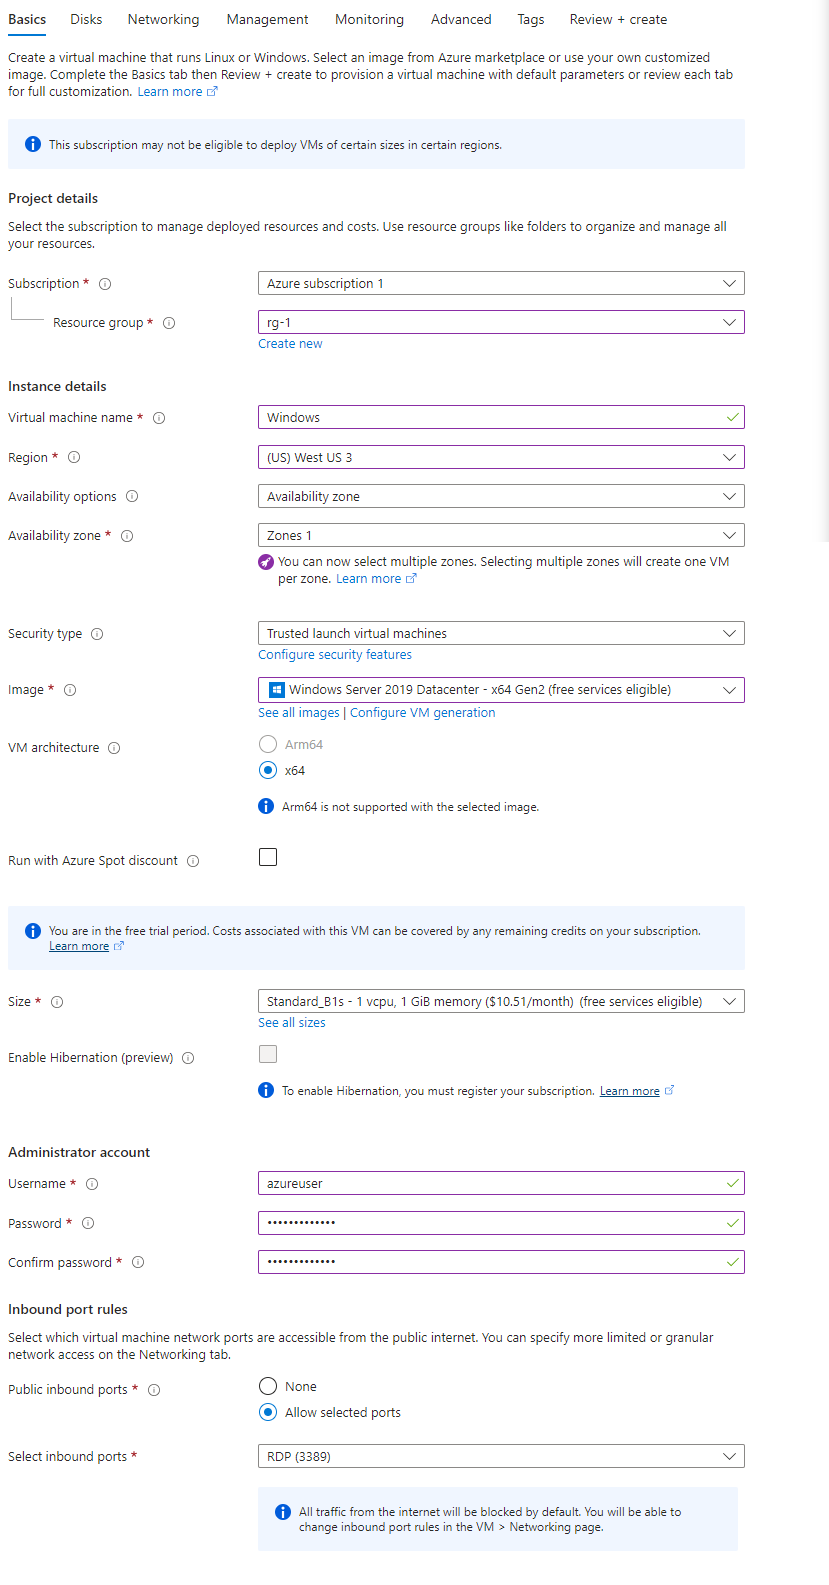
- In the “Basics” tab, I select the appropriate subscription and resource group (or create a new resource group if necessary).
- I enter a name for my VM.
- Under “Region”, I select “West US”.
- In the “Image” dropdown, I choose a Windows-based image (such as Windows 10 Pro or Windows Server 2019).
Step 2: Configure the VM
-
I Choose the VM Size:
- I select the size for the VM. A size like B1s.
-
I Set Up Authentication:
- Under the “Administrator account” section, I choose a username and a strong password that I will use to log in to the VM.
-
I Configure Ports:
- In the “Public inbound ports” section, I choose to allow selected ports and ensure that “RDP (3389)” is checked to allow Remote Desktop connections to the VM.
Step 3: Review and Create the VM
- I Review the Configuration:
- I go through the remaining settings and adjust them as necessary (such as networking, management, advanced settings, etc.).
- Once I’m satisfied with the configuration, I click “Review + create”, and then “Create” to deploy the VM.
Step 3: Review and Create the VM
- I Review the Configuration:
- I go through the remaining settings and adjust them as necessary (such as networking, management, advanced settings, etc.).
- Once I’m satisfied with the configuration, I click “Review + create”, and then “Create” to deploy the VM.
Step 4: Connect to the VM Using Windows Remote Desktop
-
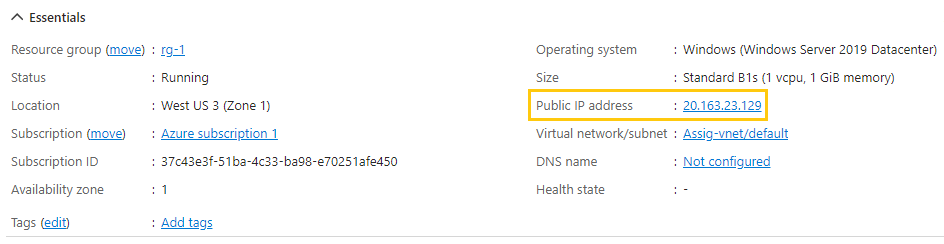
I Obtain the VM’s IP Address:
- Once the VM is deployed, I go to the VM’s overview page in the Azure Portal.
- I find the public IP address of the VM displayed on this page.
-
I Use Remote Desktop to Connect:
- I open the Remote Desktop Connection application on my Windows computer.
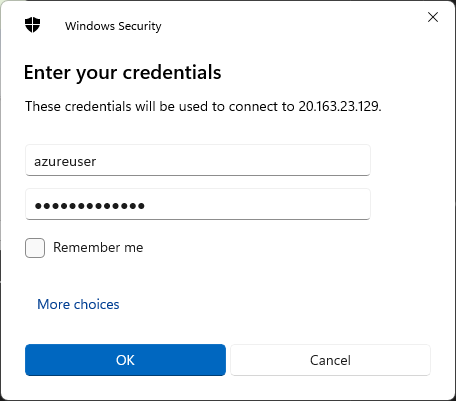
- In the “Computer” field, I enter the public IP address of the VM and click “Connect”.
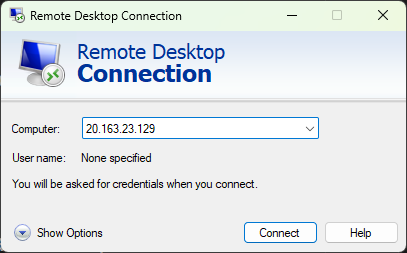
- When prompted, I enter the username and password I set up for the VM.
-
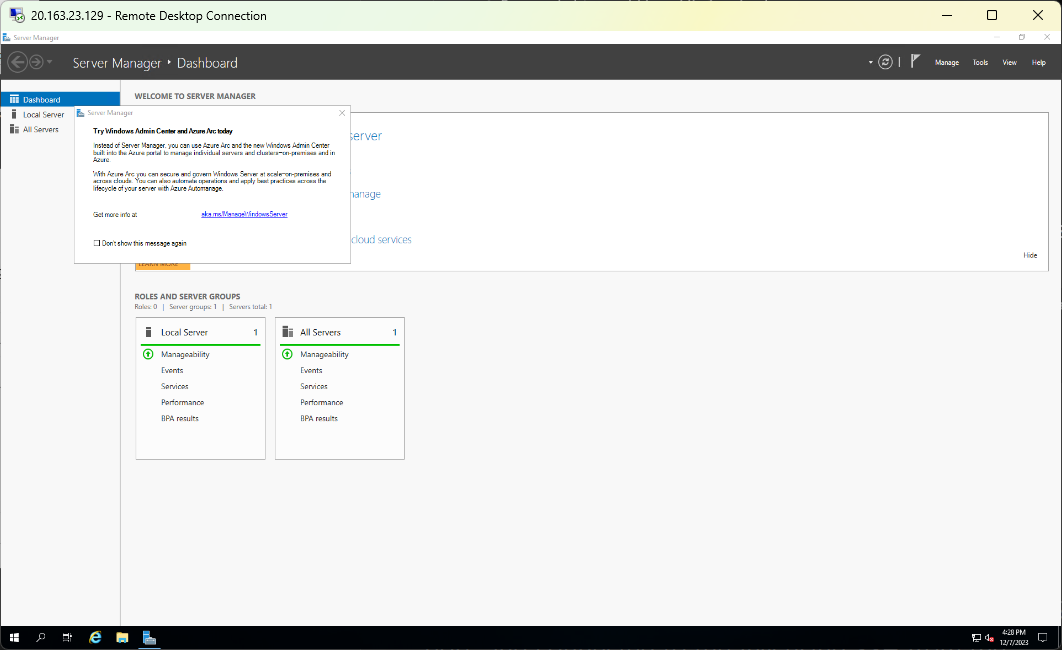
I Start the Remote Session:
- After entering my credentials, I may receive a warning about the certificate of the VM. As this is expected, I click “Yes” or “Continue” to proceed.
- The Remote Desktop window opens, showing the desktop of the Windows VM.