Module 4: Assignment - 3
Tasks To Be Performed:
- Create a VM scale set with Ubuntu as OS
- Give min VM’s as 1 and maximum as 5
- For scale-out CPU % is 75 and increase by 1 VM
- For scale-in CPU % is 25 increase by 1 VM
Step 1: Create a VM Scale Set with Ubuntu OS
-
I Log into the Azure Portal:
- I open a web browser and navigate to the Azure Portal. I sign in with my credentials.
-
I Navigate to VM Scale Sets:
- In the Azure Portal, I select “Virtual machine scale sets” from the menu or search for it in the search bar.
-
I Create the VM Scale Set:
- I click on “Create” to start the process of creating a new VM scale set.
- In the “Basics” tab, I select the appropriate subscription and resource group (or create a new one if necessary).
- I enter a name for the scale set.
- Under “Region”, I choose the region where I want to deploy the scale set.
- For the “Image”, I select an Ubuntu Server image.
Step 2: Configure the VM Scale Set
-
I Set the Instance Count:
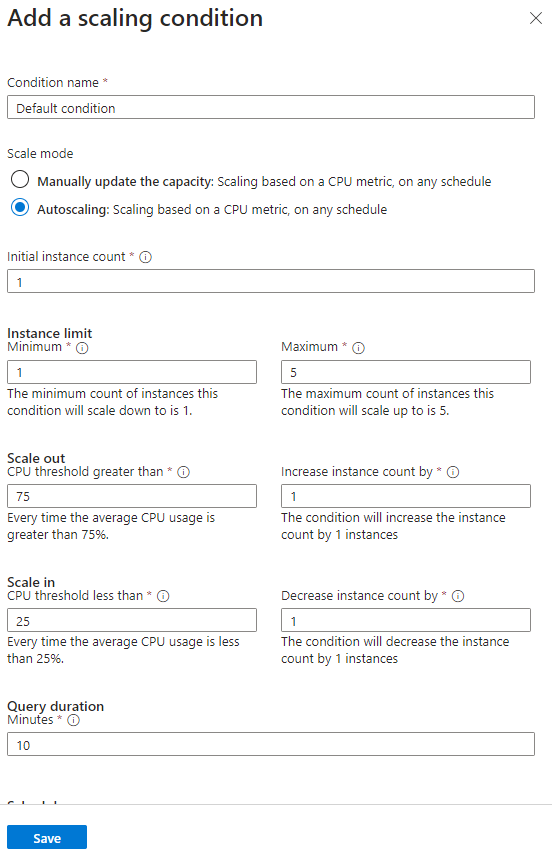
- In the “Scaling” section, I set the initial instance count to 1, as I want the minimum number of VMs to be 1.
-
I Configure the VM Size and Settings:
- I select the VM size according to my requirements.
- I configure other settings like networking, storage, and monitoring as needed.
Step 3: Enable and Configure Auto-Scaling
-
I Enable Auto-Scaling:
- In the “Scaling” section, I enable the auto-scaling feature.
-
I Configure Scale-Out Settings:

- I set the “Scale-out” threshold at 75% CPU usage.
- I specify that the scale-out action should increase the instance count by 1.
- I ensure the maximum number of VMs is set to 5.
-
I Configure Scale-In Settings:
- I set the “Scale-in” threshold at 25% CPU usage.
- I specify that the scale-in action should decrease the instance count by 1.

Step 4: Review and Create the VM Scale Set
-
I Review the Configuration:
- I go through the settings to ensure everything is configured correctly for my requirements.
-
I Create the VM Scale Set:
- After reviewing, I click “Review + create” to deploy the VM scale set.
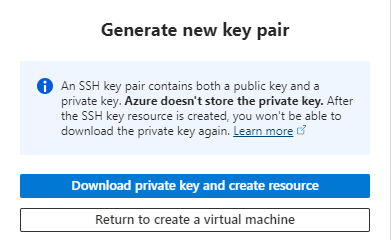
- I make sure to download key
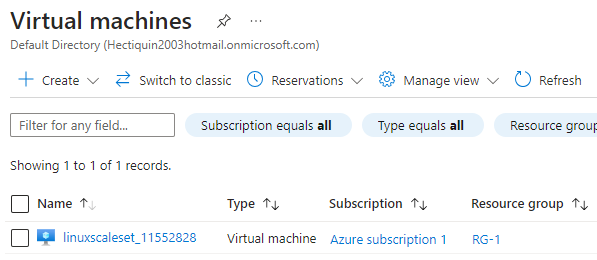 I login to it to stress it
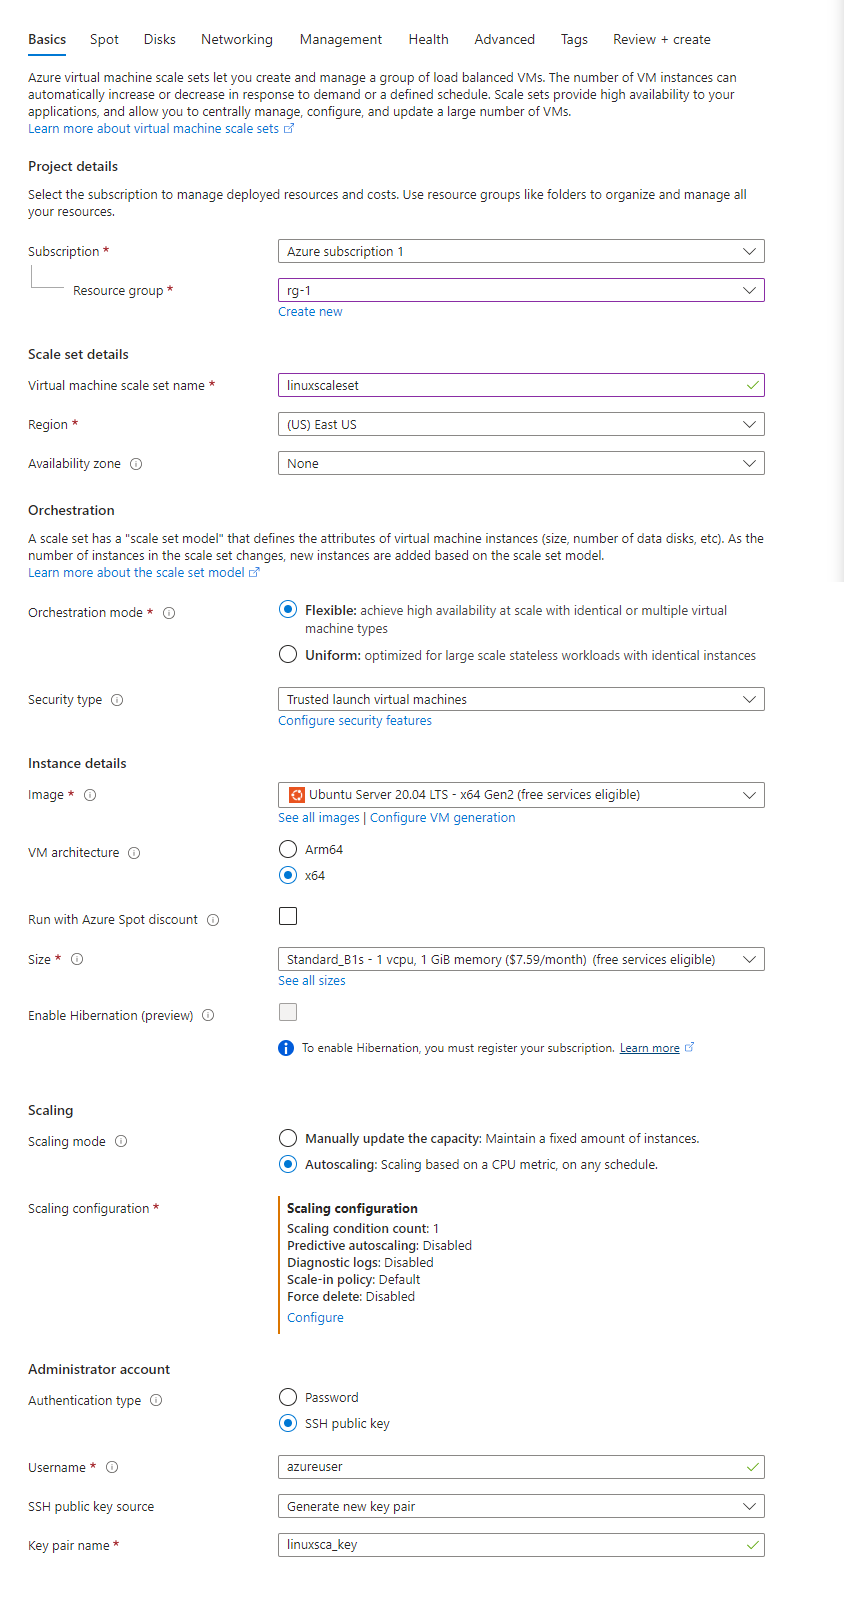 In networking tab had to edit the NIC to allow inboud SSH

To simulate high CPU usage in the EC2 instances, I mirrored the approach from Assignment 4 – CloudWatch Dashboard . Specifically, I executed the command:
while true; do openssl dgst -sha256 /dev/zero; doneBefore:
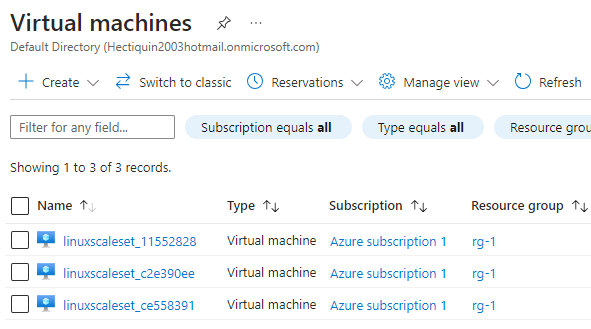
 After:

More Vm span, not sure why 2 more
In the scaletset’s monitoring tab I see the CPU spike I created
