Module 4: Assignment - 4
Tasks To Be Performed:
- Create a Linux VM with Ubuntu OS
- Install Apache2 software
- Create image out of VM
Step 1: Create Linux VM
To create the VM, I referred to Assignment 1: Module 4, ensuring that I opened port 80 for HTTP and logged into the machine.
Step 2: Install Apache2 Software
-
I Install Apache2:
- After logging into the VM, I run the following commands to update the package lists, install Apache2, and ensure it is running:
sudo apt-get update
sudo apt-get install apache2 -y
sudo systemctl start apache2
sudo systemctl enable apache2
I obtain its public IP to test it
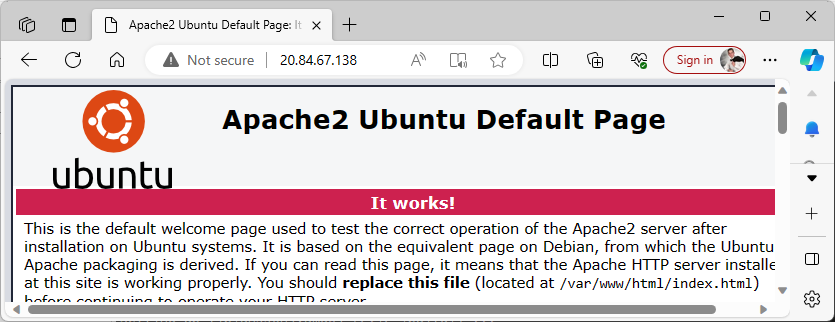
Step 3: Create an Image of the VM
-
I Generalize the VM:
-
First, while the VM is still running, I SSH into the VM.
-
I run the following command to generalize the VM. This prepares the VM for imaging by removing personal account information and other unique settings:
sudo waagent -deprovision+user -
After running the command, I log out of the VM.
-
-
I Deallocate the VM:
- In the Azure Portal, I go to the VM and click “Stop” to deallocate it. This action releases the compute resources but keeps the VM configuration and disks.
-
I Capture the Image:
- After the VM is deallocated, I return to the Azure Portal.
- On the VM’s page, I click on “Capture” to create an image of the VM.

- I fill in the required details, such as the name for the image and the resource group where I want to store it.
- Had to create a “Target Azure compute gallery” and “Target VM Image definition”.
- Gave it “Version number” and left only one Target region
- Finally, I click “Create” to capture the image of the VM.
- If I go to “Azure compute galleries” I can see the one I just created with the image inside
Success
