Module 11: Migration Assignment - 2
Problem Statement: You work for XYZ Corporation. Your corporation wants to move their infrastructure to the cloud to improve the performance and availability of the application hosted. You are given the opportunity to accomplish the tasks for successful migration.
Tasks To Be Performed:
- Export the Ubuntu server VM created in task 1.
- Upload it to an S3 bucket.
- Use that VM to create an AMI and create an EC2 instance with it.
Continuing from Assignment 1 – AWS Migration
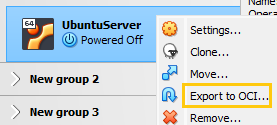
Exporting the Ubuntu Server VM:
-
I open the Oracle VM VirtualBox Manager where I can see my “UbuntuDesktop for Migration” VM.
-
I right-click on the VM and select ‘Export to OCI’.
-
I follow the prompts and export it in the Open Virtualization Format (OVF).
Uploading the .OVA to an S3 Bucket:
- I log into my AWS Management Console.
- I navigate to S3 and select existing bucket
my-test-bucket-unique-name.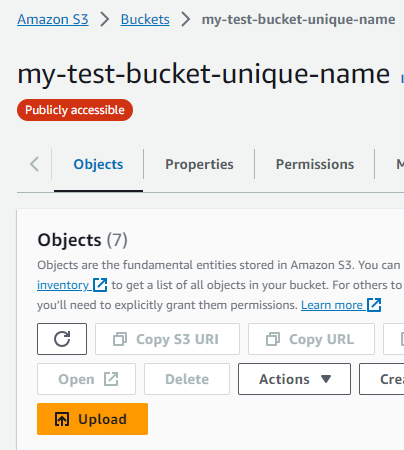
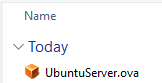
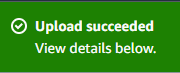
- I click on ‘Upload’, select the exported .ova file, and start the upload.

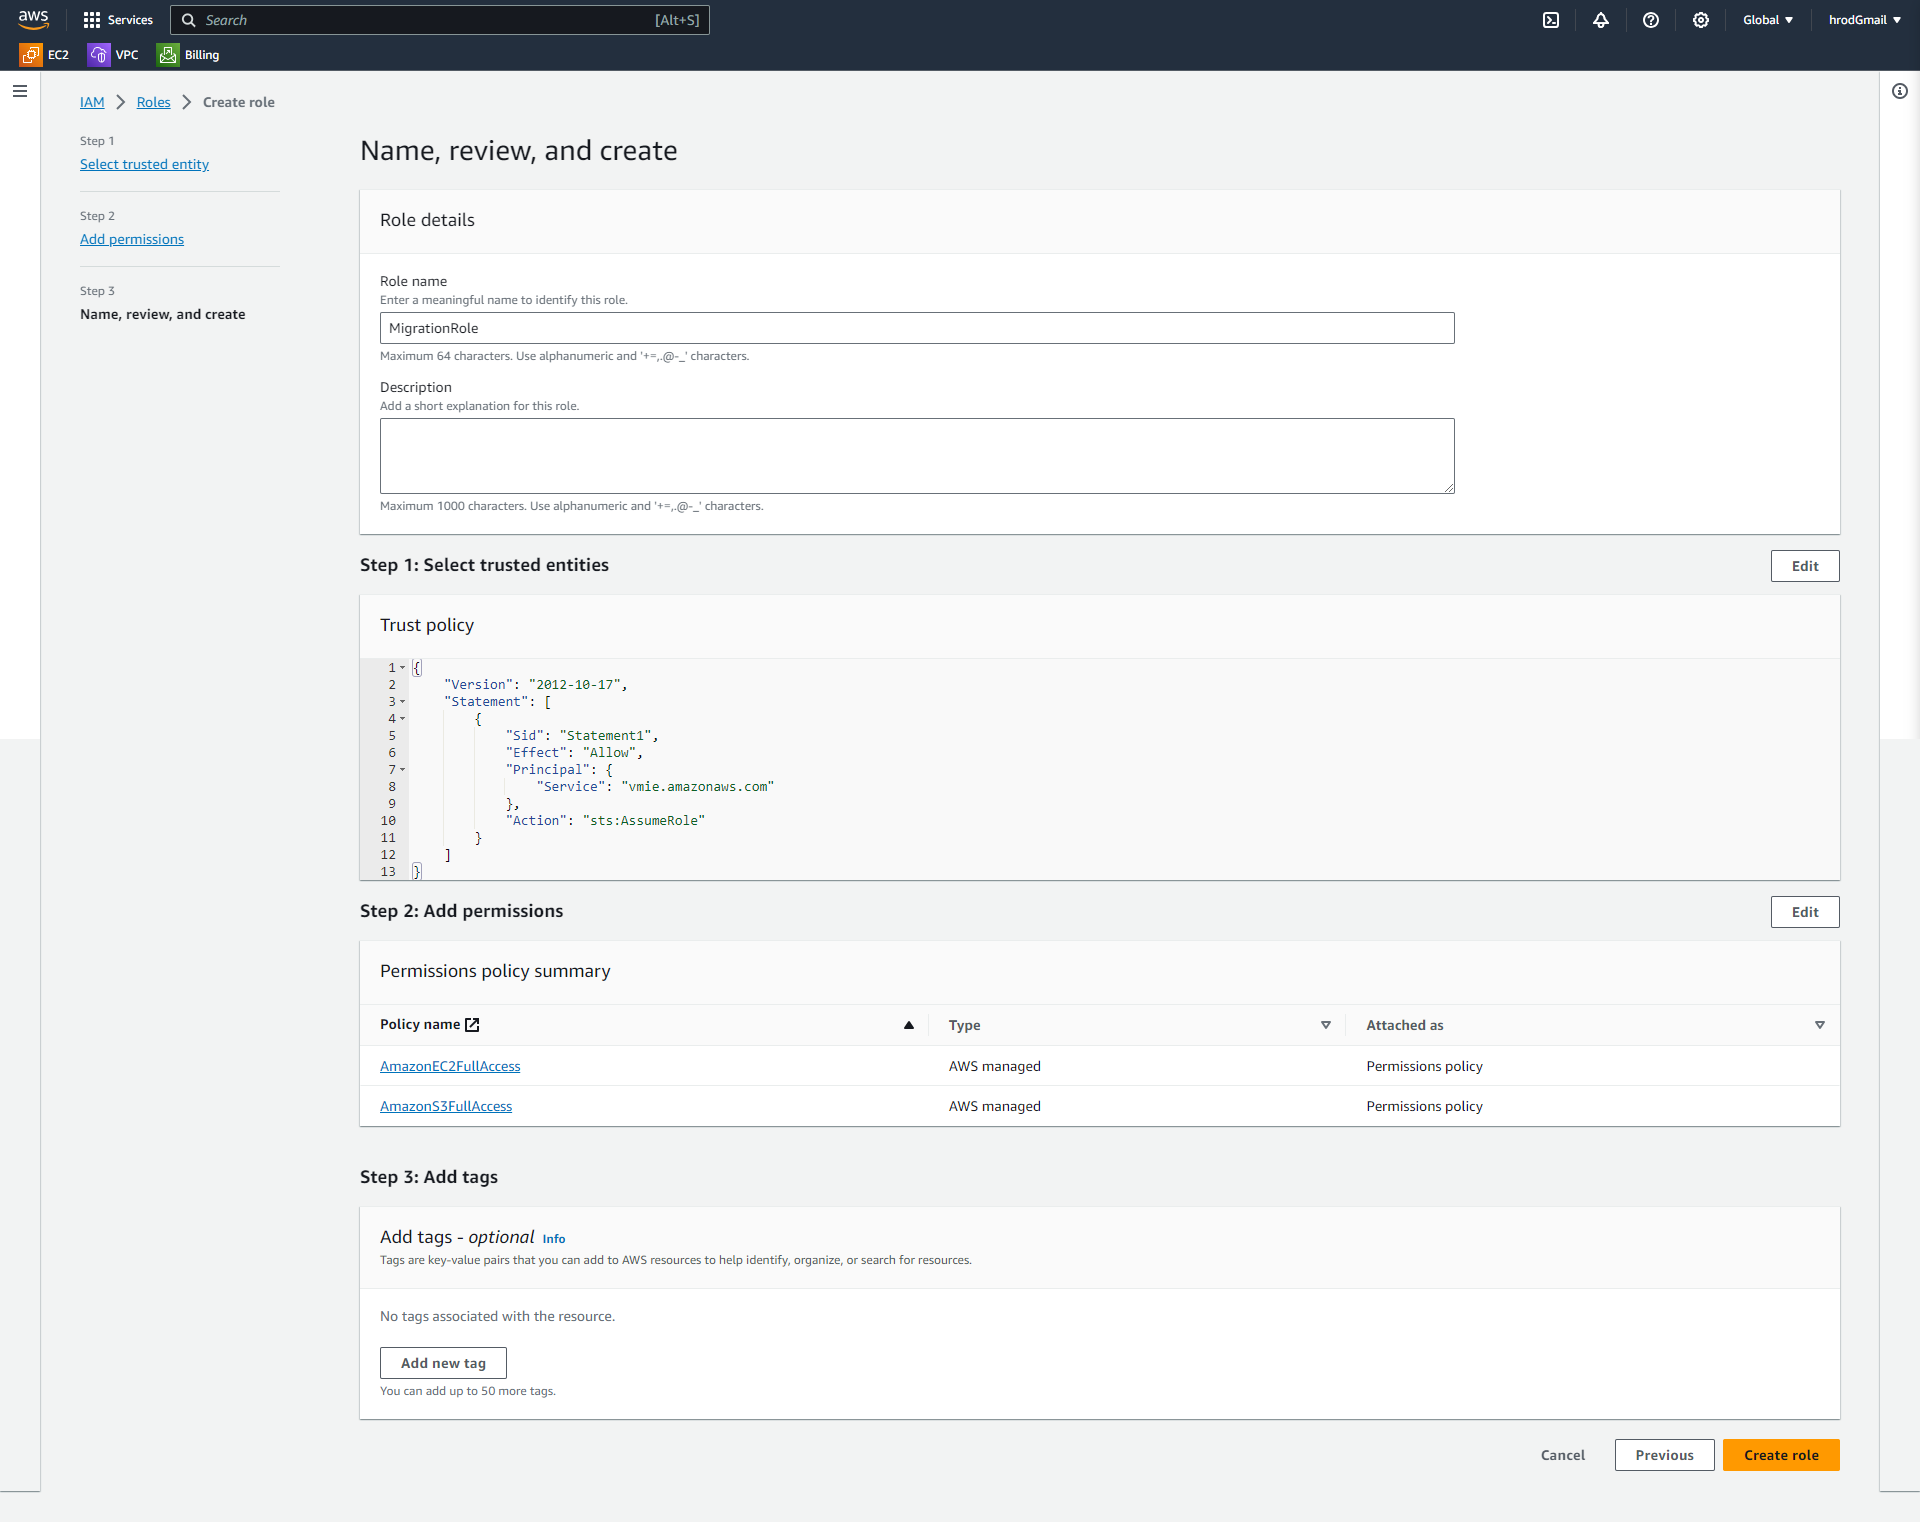
Creating the “MigrationRole” in AWS IAM
- Role Creation:
- I navigate to the AWS IAM console and select the option to create a new role.
- Named the role “MigrationRole”.
- Trust Relationship:
- I choose the “Custom trust policy” option.
- Insert the trust policy with the following details:
{ "Version": "2012-10-17", "Statement": [ { "Effect": "Allow", "Principal": { "Service": "vmie.amazonaws.com" }, "Action": "sts:AssumeRole" } ] }- This trust policy allows the “vmie.amazonaws.com” service (Virtual Machine Import/Export) to assume this role. This service is used for tasks like converting
.ovafiles to Amazon Machine Images (AMIs).
- Permission Policies:
- Attach the following AWS managed policies to the role:
AmazonEC2FullAccess: This provides full access to all EC2 actions and resources.AmazonS3FullAccess: This grants full access to S3 actions and resources, allowing for storage operations which might be necessary during migrations.
Using AWS CLI:
-
I’ve already installed the AWS CLI. Installing instructions
-
Now, I’ll generate an access key for AWS CLI use:
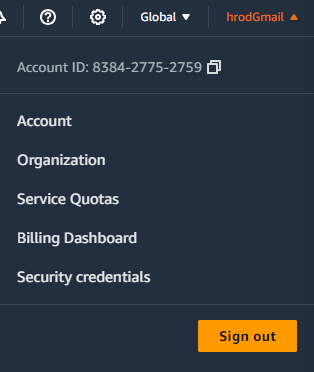
- I navigate to the AWS Management Console.
- I click on my account (e.g.,
hrodGmail) at the top right. - In the dropdown, I select “Security credentials.”
- Under “Access keys,” I click on “Create access key.”
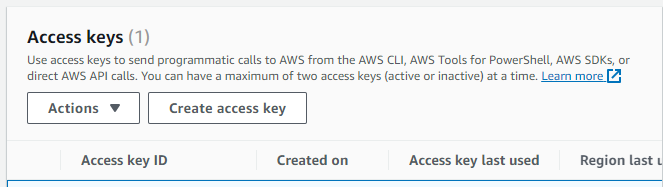
-
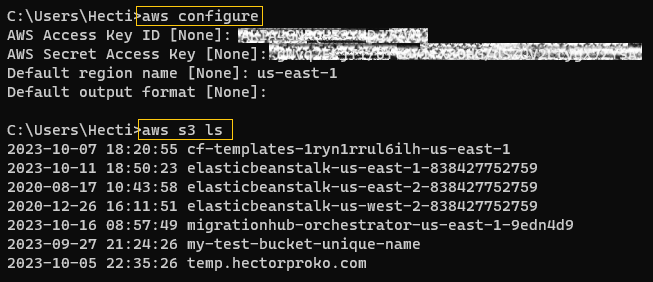
After receiving the keys, I configure the AWS CLI:
- I run the command:
aws configure - I enter the provided AWS Access Key ID.
- I enter the AWS Secret Access Key.
- I set the default region to
us-east-1. - I leave the default output format as it is.
- I run the command:
-
To verify the connection, I list the S3 buckets:
- I run the command:
aws s3 ls
- I run the command:
- I create a new file named
container.jsonwith the following content:[ { "Description": "Ubuntu Server OVA to AMI", "Format": "ova", "UserBucket": { "S3Bucket": "my-test-bucket-unique-name", "S3Key": "UbuntuServer.ova" } } ]
Creating an AMI from the OVA:
-
To initiate the import of the OVA image into an Amazon Machine Image (AMI), I run the following command:
aws ec2 import-image --disk-containers "file://C:\Users\Hecti\Downloads\container.json" --role MigrationRole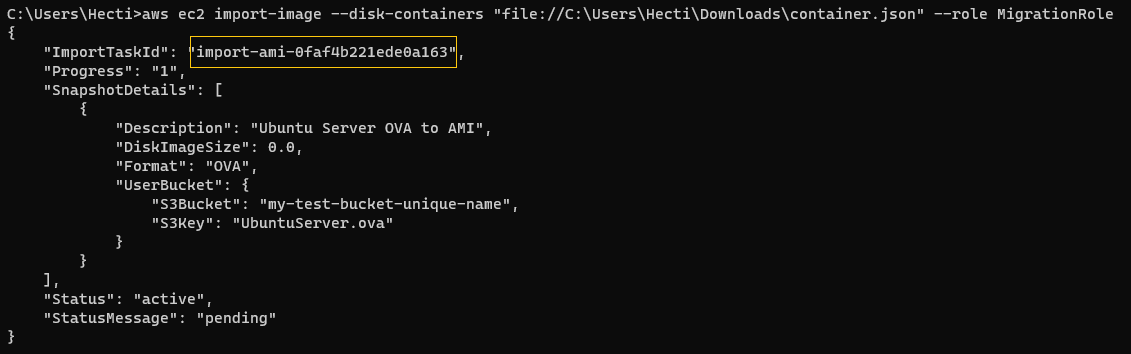
-
To monitor the progress of the image import task and obtain its status, I use:
aws ec2 describe-import-image-tasks --import-task-ids "import-ami-0faf4b221ede0a163"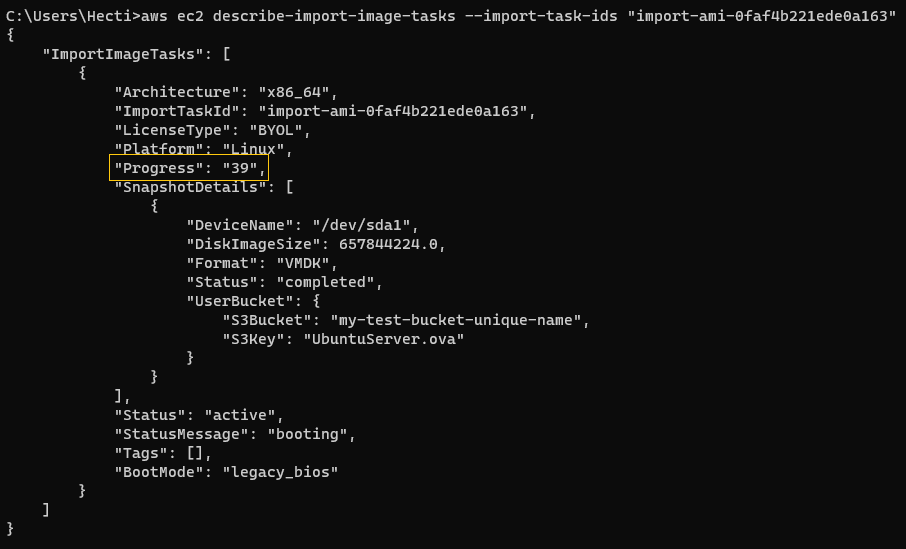 The progress was at
 39%when I last checked.
After the process completes, I receive a snapshot.

The AWS VM Import/Export service processed my disk image, took a snapshot, and subsequently generated an Amazon Machine Image (AMI) from that snapshot.

The name of the AMI is import-ami-0faf4b221ede0a163.
Launching an EC2 Instance using the AMI:
Using this AMI, I launch an EC2 instance by clicking the button “Launch instance from AMI”. When setting it up, I ensure to use the .pem file for authentication.
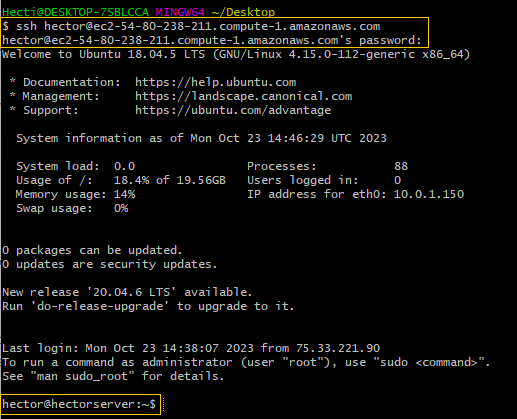
To access the EC2 instance, I use SSH with the username ‘hector’. This username was established when I initially installed the operating system in VirtualBox.
The command I use is:
ssh hector@ec2-54-80-238-211.compute-1.amazonaws.comSuccess