Module 6: Assignment - 3
Tasks To Be Performed:
- Use the previously created VM
- Created a NIC
- Attach NIC to the previously created VM
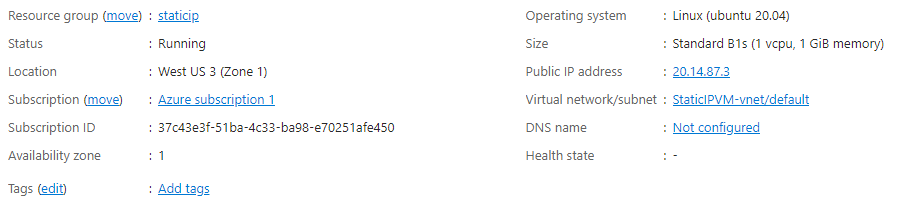
Step 1: Previous VM
Using StaticIPVM from Assignment 2_Module 6
Step 2: Create a Network Interface Card (NIC)
-
I Navigate to ‘Network Interfaces’:
- In the Azure Portal, I search for “Network Interface”, and select it.
-
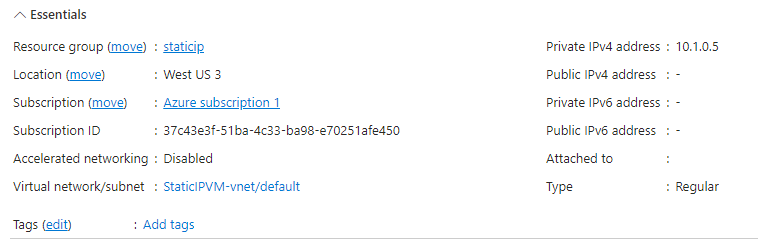
I Create the NIC:
- I click “Create” to start the process of creating a new NIC.
- I fill in the necessary information like the name for the NIC, subscription, resource group (using the same one as the VM), and Region (which should match the VM’s location).
- I select the Virtual Network and Subnet where my existing VM resides.
- I review all the settings and click “Create” to provision the new NIC.
Step 3: Attach NIC to the Previously Created VM
-
I Stop the VM:
- Before attaching the NIC, I ensure that the VM is stopped. I go to the VM’s overview page in the Azure Portal and click “Stop”.
-
I Attach the NIC to the VM:
-
Once the VM is stopped, I navigate to the VM’s settings and select “Networking” - “Network settings”.
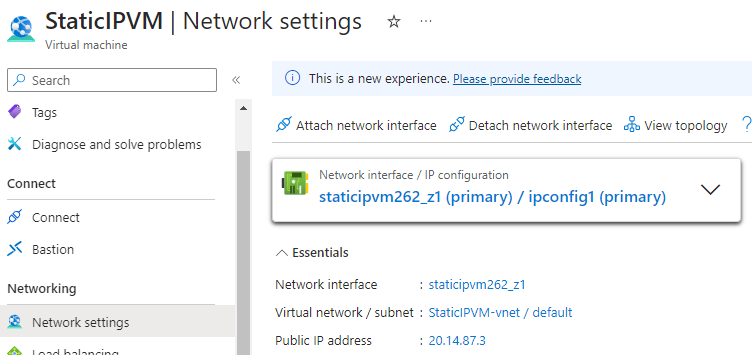
-
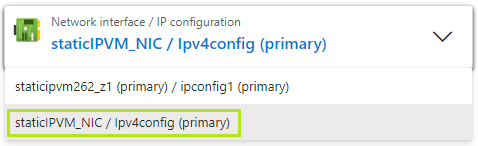
I click “Attach network interface” and select the NIC I just created.
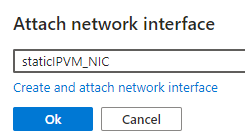
-
I click “Ok” to attach the NIC to the VM.
-
-
Verify the NIC Attachment.
Success