EC2 Instance
- Instance Name: Jenkins
- AMI: Ubuntu Server 22.04 LTS
- Instance Type: t2.micro
- Key Pair: daro.io
- Public IP: Enabled
- Security Group: allow inbound SSH(22), Jenkins(8080)
- User Data:
#!/bin/bash

sudo wget -O /usr/share/keyrings/jenkins-keyring.asc \
  https://pkg.jenkins.io/debian-stable/jenkins.io-2023.key
echo deb [signed-by=/usr/share/keyrings/jenkins-keyring.asc] \
  https://pkg.jenkins.io/debian-stable binary/ | sudo tee \
  /etc/apt/sources.list.d/jenkins.list > /dev/null
sudo apt-get update -y
sudo apt-get install jenkins -y
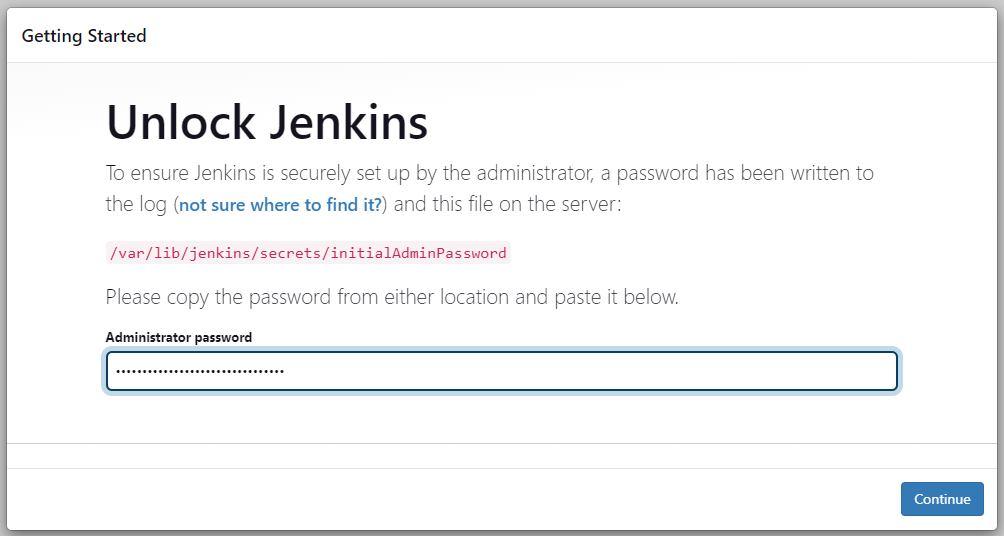
sudo systemctl enable jenkins Getting “Initial Admin Password”
 We input the “Initial Admin Password”
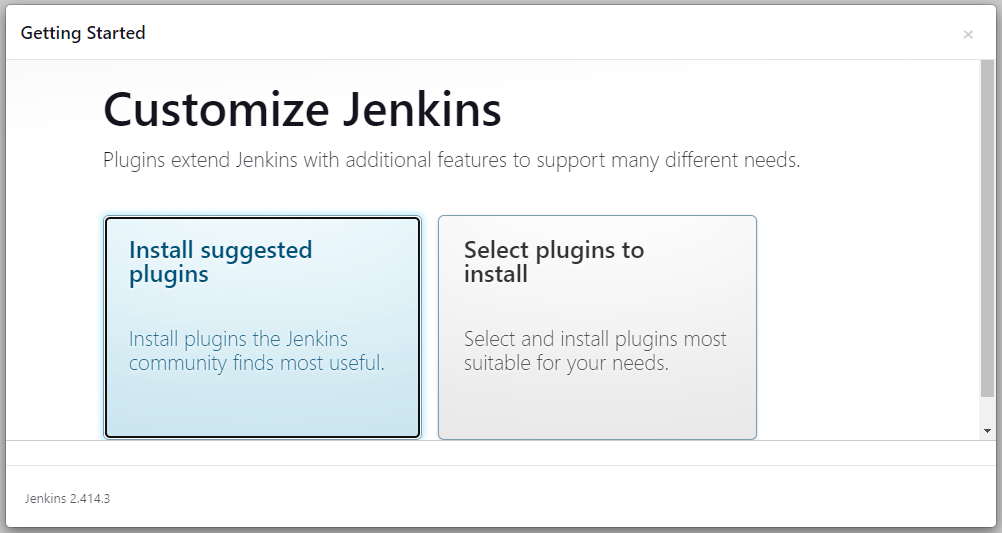
 We install the suggested plugins
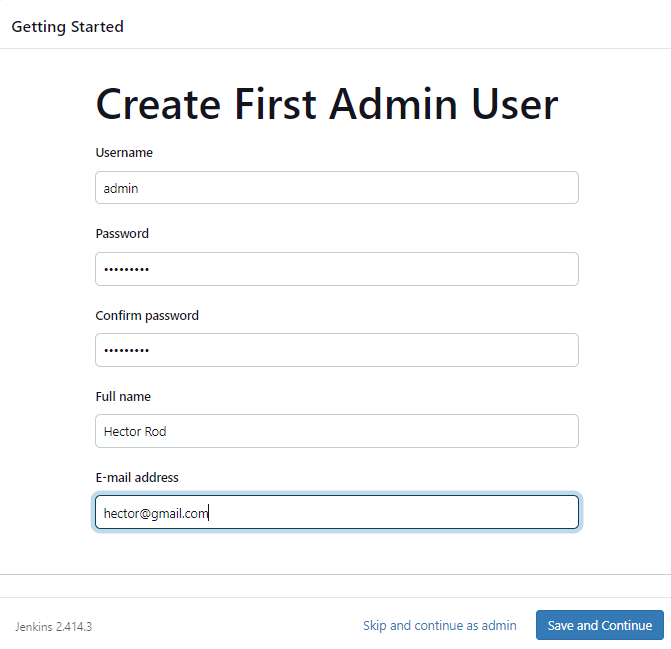
 Creating our first user
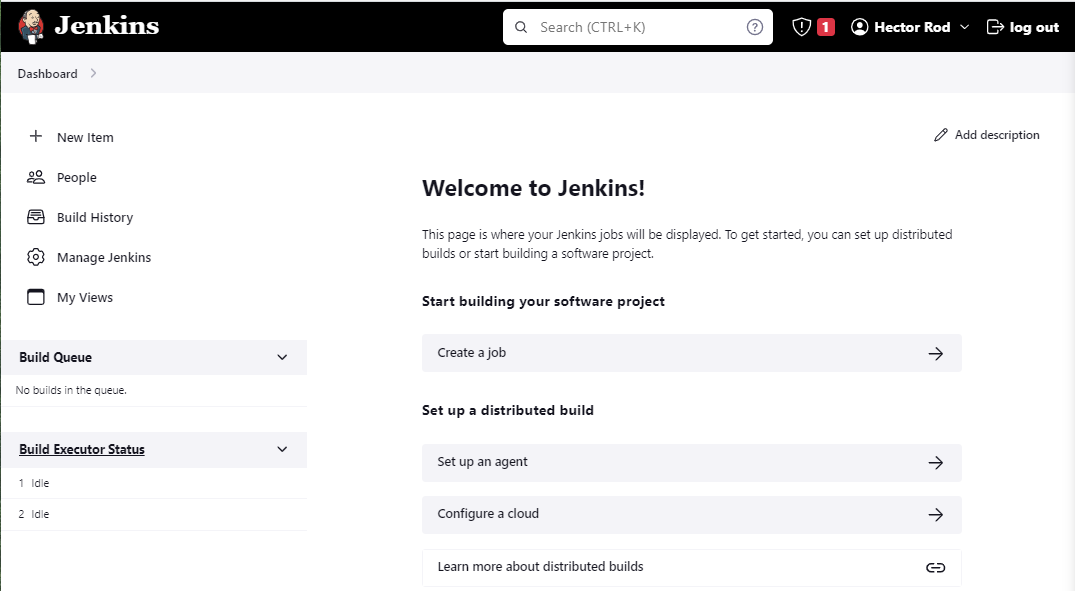 ^80125f
%%Add credentials or ssh key to Jenkins to connect to my GitHub account. In our assignments we used public Repos so was not needed%%
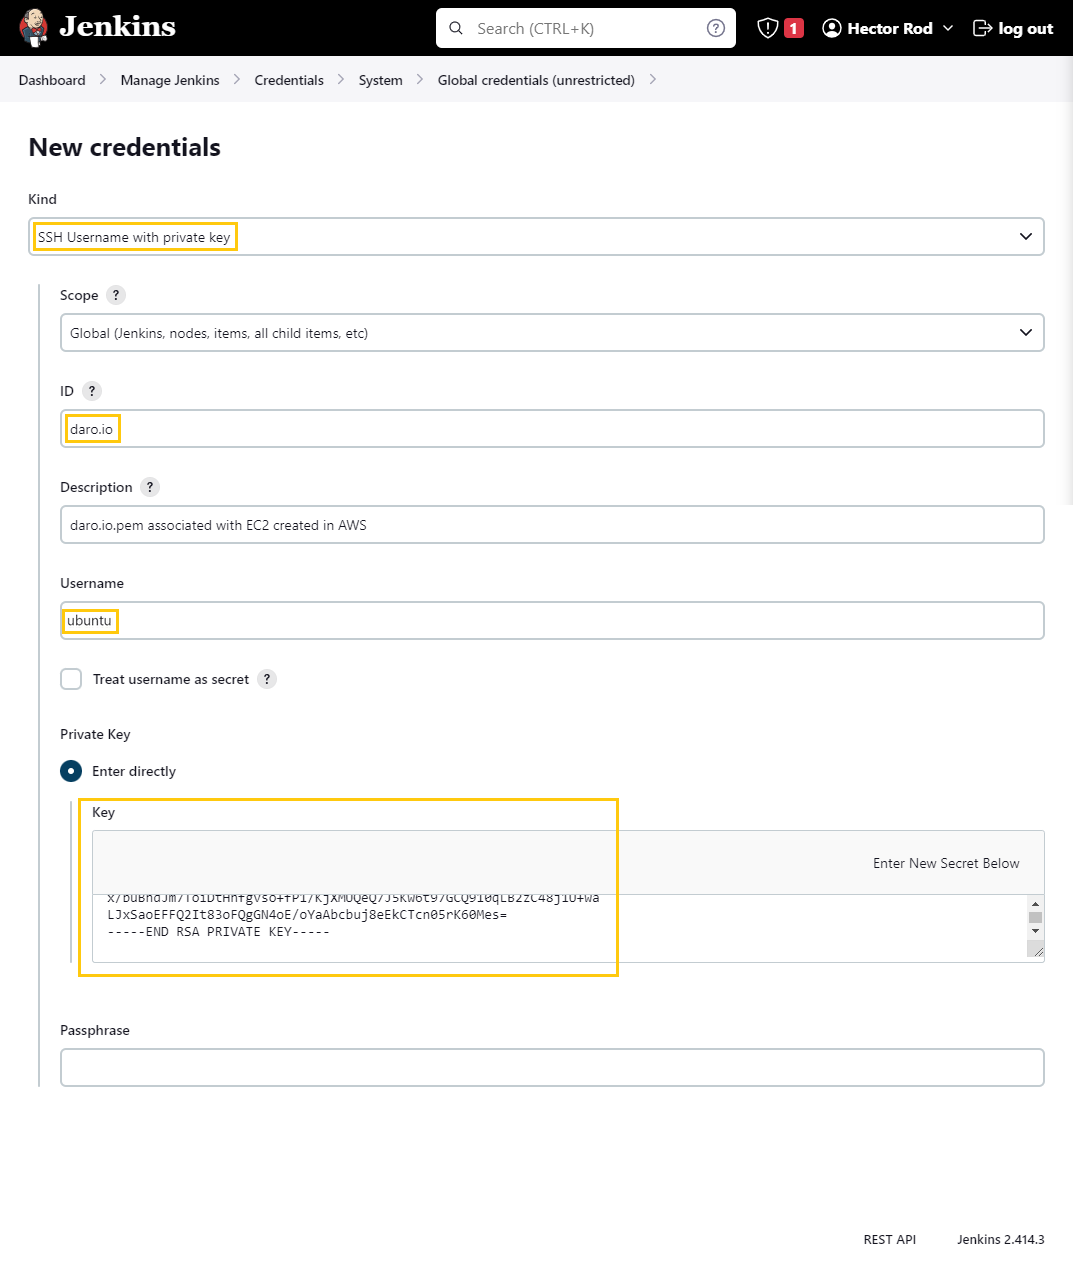
Create credentials
Need to setup ssh credentials to be able to connect to salve nodes (EC2s) using ssh connection .pem key
Steps:
-
I navigate to
Manage Jenkins > Credentials > System > Global credentials (unrestricted) -
Click button “Add Credentials”

-
Select SSH Username with private key.
-
Enter a name (ID) for the credentials.
-
In the Username field, enter the username of the SSH user
ubuntuon the slave node. -
In the Private Key field, enter the contents of the
.pemkey file. You can copy and paste the contents of the file, or you can upload the file. -
Click Create to create the credentials.
Success
Setting up slaves
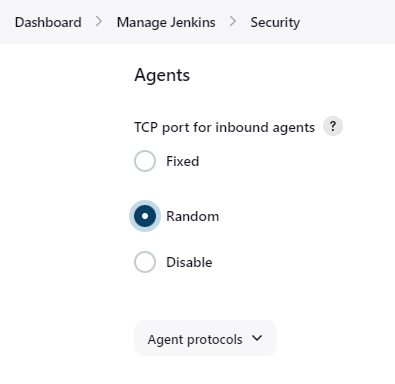
Manage Jenkins > Security
Make sure we select Random and save
To add agent
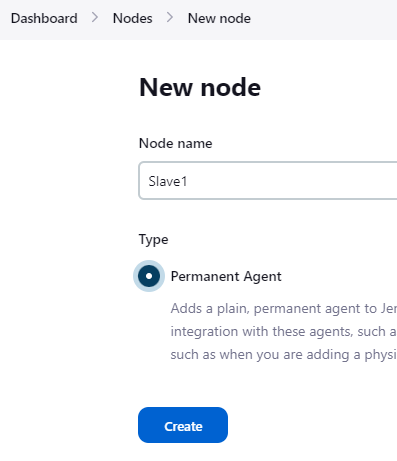
Manage Jenkins > Nodes
Click button “New Node”

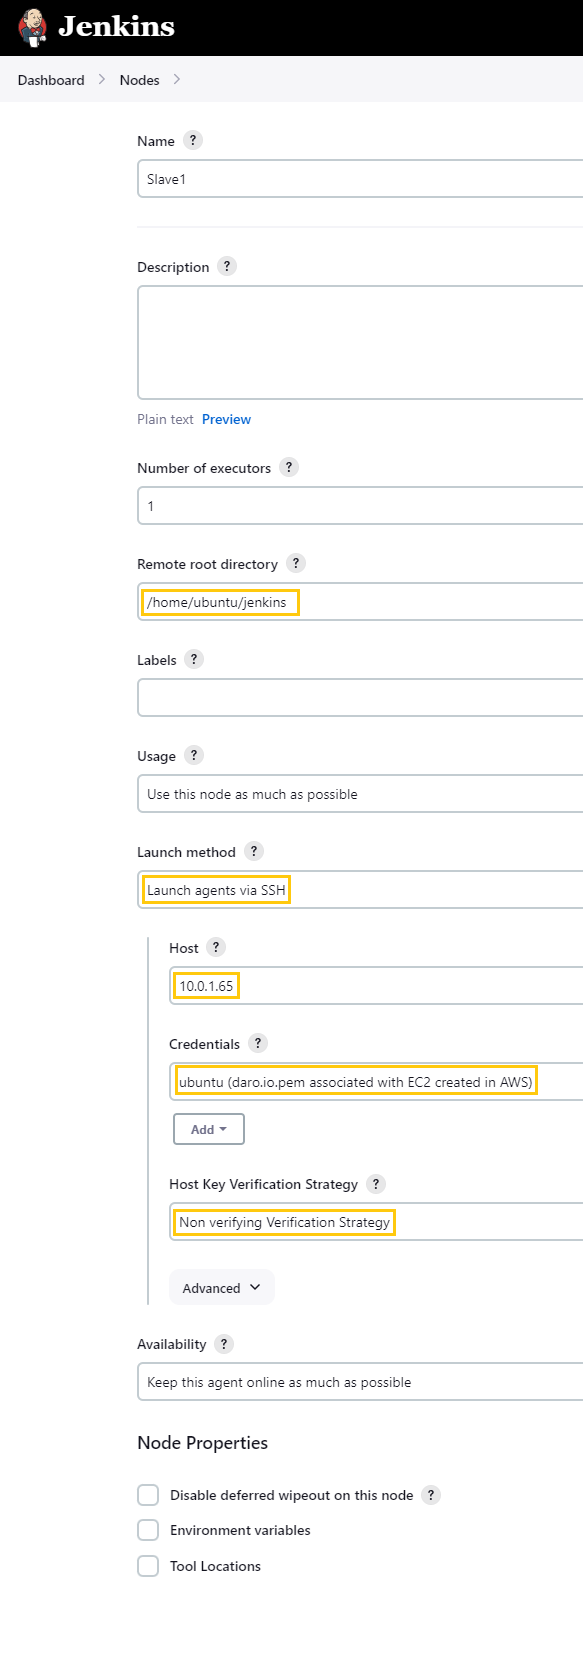
In the configuration, I focus on the following settings:
- Remote Root Directory: The workspace where Jenkins executes builds.
- Launch Method:
- Host: The private IP of the EC2 instance.
- Credentials: previously created
- Host Key Verification Strategy: Set to ‘Non-verifying Verification Strategy.‘”
I have installed Java on ‘Slave1’ as it is a prerequisite for operation.
 ^7992da
Now we have an In sync Slave1 Agent
Success

