AWS DevOps Assignment - 3
Training Problem Statement: You work for XYZ Corporation. Your corporation wants the files to be stored on a private repository on the AWS Cloud. Once done, you are required to automate a few tasks for ease of the development team.
Tasks To Be Performed:
- Create a pipeline using CodePipeline: a. Where the source is a simple PHP application in a GitHub repository b. Deployment is an Elastic Beanstalk PHP application
Prerequisites:
- I ensure I’m signed into the AWS Management Console.
- I verify that I have a repository set up in AWS CodeCommit, and it contains my PHP application.
- In Assignment 1 – AWS DevOps, I created a repository to host my PHP page. This is the same PHP page I’m using in Assignment 2 – Elastic Beanstalk.
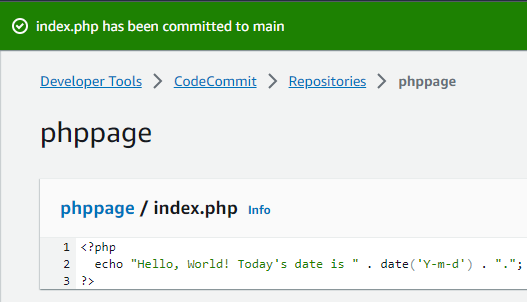
- The name of the repository I created is
phppage. - Inside this repository, I have a file named
index.phpwith the following content:<?php echo "Hello, World! Today's date is " . date('Y-m-d') . "."; ?>
 I ensure that my IAM user has the necessary permissions for CodePipeline, CodeCommit, Elastic Beanstalk, and any other relevant services I might use.
Steps:
-
I Set Up Elastic Beanstalk for My PHP Application:
- I navigate to the Elastic Beanstalk console within AWS.
- I initiate the process to create a new environment, ensuring I pick the ‘Web server environment’ option.
- I then select the PHP platform and follow through the setup using the default settings. I make a note of the environment name and URL for future reference.
Just as in Assignment 2 – Elastic Beanstalk, I type “elastic beanstalk” in the AWS search bar. On the left sidebar under “Applications”, I click on the “Create application” button.
- I name my application “php page”.
- I then click on the “Create environment” button.
- I ensure that the “Web server environment” option is selected and set the platform to PHP.
- To verify everything is set up correctly, I decide to load a sample application.
- Once loaded, I check the domain to confirm it’s operational.
-
I Create a Pipeline in AWS CodePipeline:
Upon searching for CodePipeline, I find and click on the “Create pipeline” button.
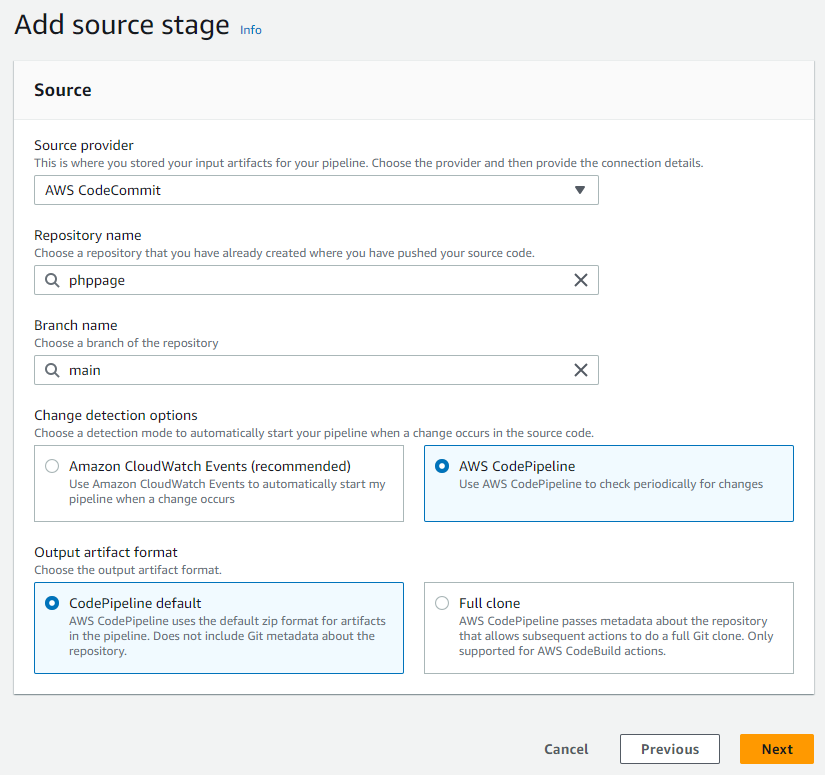
- For the source stage, I select “AWS CodeCommit” as the source provider.
- I select my repository named “php page” and choose the “main” branch.
- For change detection, I choose the “AWS CodePipeline” option so it periodically checks for changes.
- I set the output artifact format to “CodePipeline default” as it fits my needs.
-
I Set Up the Source Stage:
- I select ‘AWS CodeCommit’ as the source provider.
- I choose the region where my CodeCommit repository is.
- I pick my CodeCommit repository and the branch that contains my PHP application.
-
I Decide on the Build Stage:
- I realize I can bypass this for direct deployment. If I want to run tests or other tasks, I’ll set up this stage using AWS CodeBuild.
- I decide to forgo it and therefore, I remove the build stage.
-
I Set Up the Deploy Stage:
- I click on ‘Add stage’ to introduce a deploy stage.
- I give the stage a name, like ‘Deploy’.
- I proceed to click on ‘Add action group’.
- I think of an appropriate name and enter it for the action name.
- I choose ‘AWS Elastic Beanstalk’ as the action provider.
- I select ‘SourceArtifact’ for Input artifacts, knowing it symbolizes the source from my CodeCommit repository.
- I pick the Elastic Beanstalk application I previously set up for the Application Name.
- I remember and select the environment of the Elastic Beanstalk application I made a note of earlier for the Environment Name.
- I confirm my choices by clicking on ‘Done’.

-
I Finalize the Pipeline Creation:
- I double-check all the stages to ensure everything is in order.
- I finalize my setup by clicking on ‘Create pipeline’.
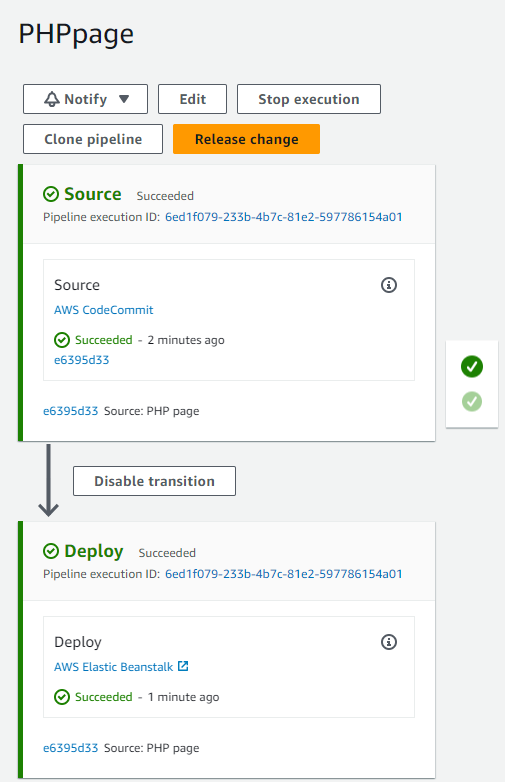
After setting everything up, every time I modify my PHP application in the CodeCommit repository I specified, CodePipeline takes note and promptly rolls out the updates to my Elastic Beanstalk PHP application.
That’s how you can set up an AWS CodePipeline to automate the deployment of your PHP application from AWS CodeCommit to Elastic Beanstalk.
-
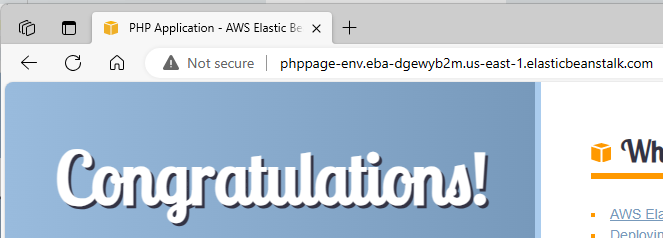
After creating the pipeline, I check my PHP application.
- I go to my Elastic Beanstalk domain and see the expected result.
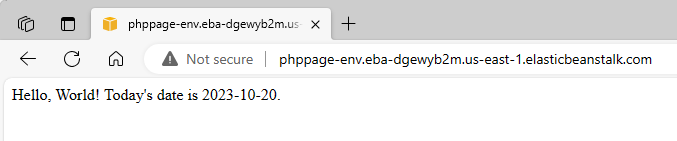
- I go to my Elastic Beanstalk domain and see the expected result.
-
I make an update to my PHP application.
-
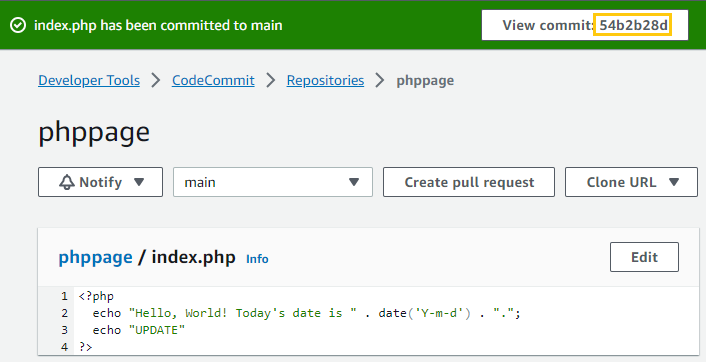
I open the
index.phpin the CodeCommit repository. -
I add the “UPDATE” text.
-
I save and commit the changes.
-
-
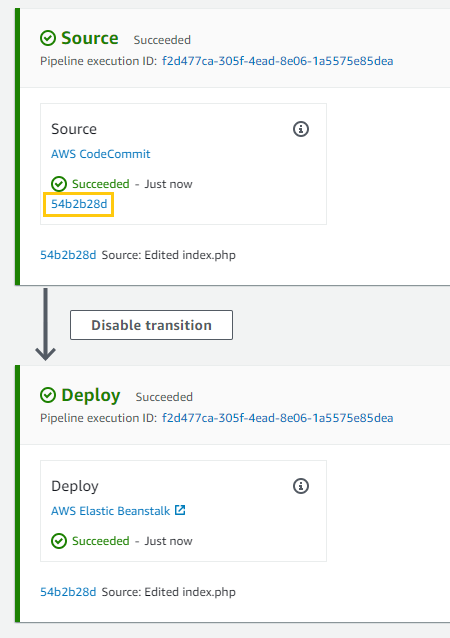
I wait for AWS CodePipeline to detect and process the change.
- Once done, I can see the “UPDATE” text when I visit the Elastic Beanstalk domain.
Success
